
Being able to rinse out glasses at a homebrew event is a big deal. Not only does it mean that your beer will be showcased in its purest form, but drinkers also appreciate getting their sample glasses cleaned out. It elevates the whole experience. So, naturally, as I was preparing to bring some beer to my next homebrew event, I wanted an elegant solution for rinsing glasses—something better than a pitcher of water or a spray bottle. After scouring the Internet for ideas (and not finding many), I settled on this clever bucket idea for a portable glass rinser. The basic concept is to use a 5 gallon keg of water to rinse glasses, with the waste water flowing into a 5 gallon bucket: a self-contained system.
Parts
To build this portable glass rinser, I used the following parts:
- Lowe’s bucket and lid (Lowe’s)
- Sink glass rinser (Amazon)
- 5-foot ice maker supply line (Home Depot)
- 1/2″ FIP x 1/4″ compression adapter (Lowe’s)
- 1/4″ compression x 1/4″ female flare adapter (Lowe’s)
- Corny keg ball lock liquid out disconnect with 1/4″ male flare threads (William’s Brewing)
Cost
I already had a spare ball lock disconnect, so I didn’t need to purchase one for this project. The rest of the parts cost the following for me at the time of purchase, not including tax or shipping:
- $4.98 for the bucket
- $2.28 for the bucket lid
- $8.99 for the glass rinser
- $11.34 for the ice maker supply line
- $8.88 for the 1/2″ FIP x 1/4″ compression adapter
- $3.88 for the 1/4″ compression x 1/4″ FFL adapter
- $5.99 for the ball lock disconnect (if needed)
Grand total: $46.34
Build
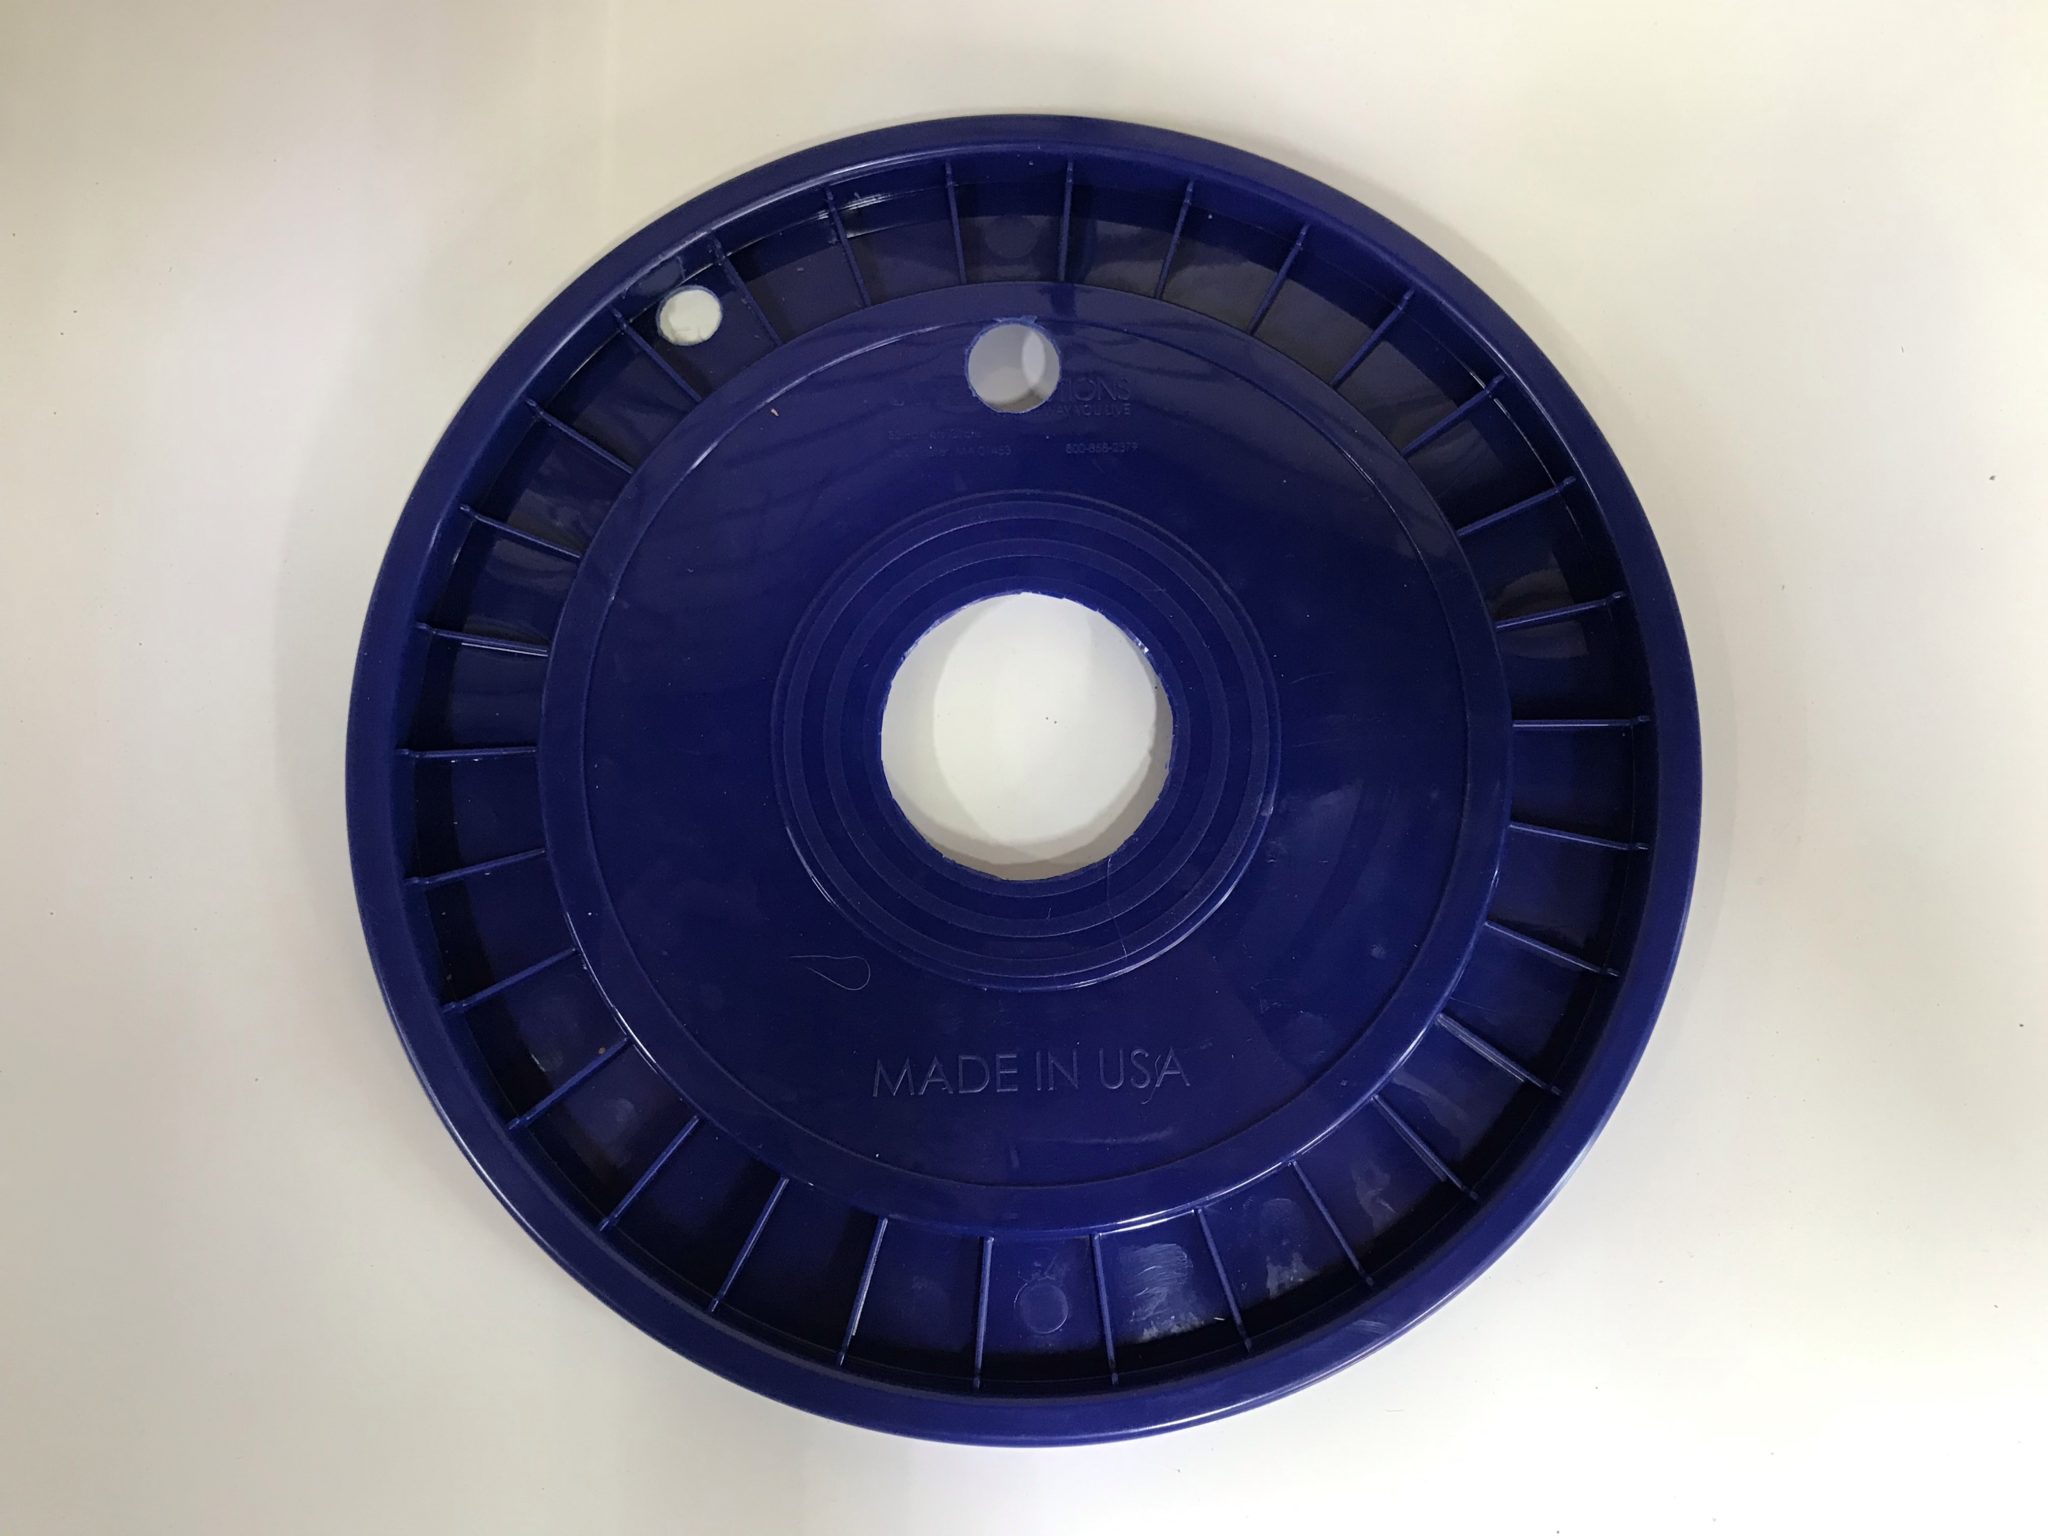
This build was pretty quick and straightforward. Besides assembly, the only real “build” part is modifying the Lowe’s bucket lid. After placing the glass rinser base on top of the lid to determine where to mount it, I drilled a 7/8″ hole for the glass rinser shank. Then I drilled a 5/8″ hole for the ice maker supply line to pass through. Finally, I cut out a circle in the center of the lid for the lip of the glass rinser to rest and drain into the bucket.
After that, it was just assembly: installing the 1/2″ FIP x 1/4″ compression adapter onto the glass rinser shank, the ice maker supply line onto the adapter, the 1/4″ compression x 1/4″ female flare adapter onto the ice maker supply line, and a ball lock liquid out disconnect onto the flare adapter.
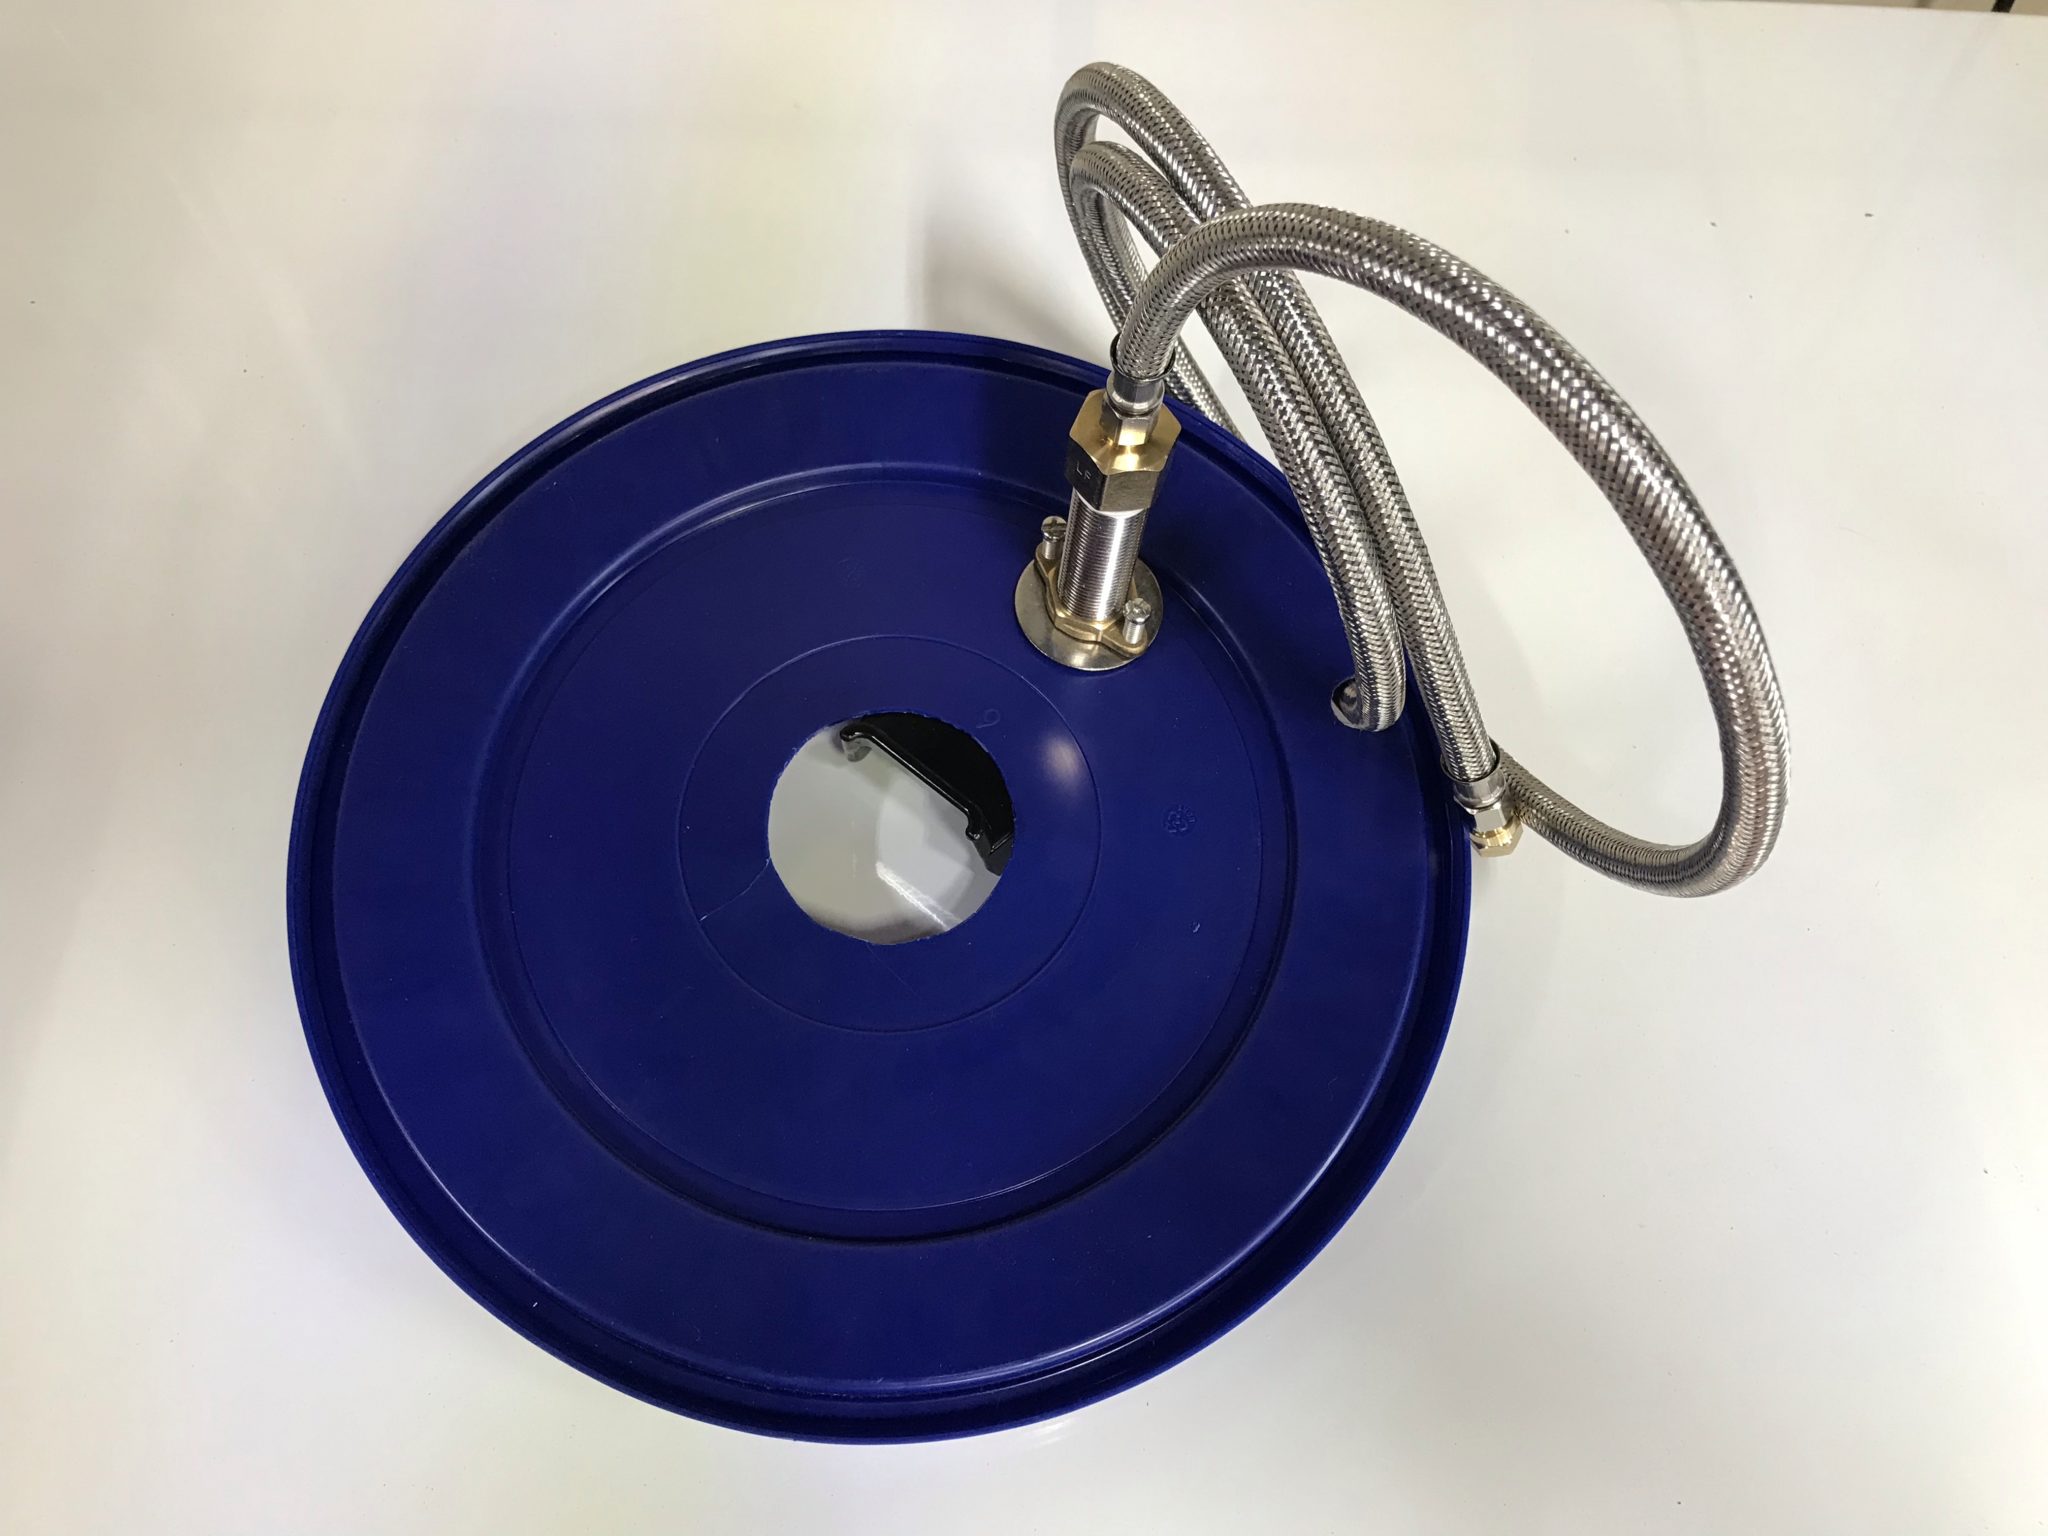
Finally, the supply line was fed through the smallest hole in the lid, and the lid installed onto the bucket.
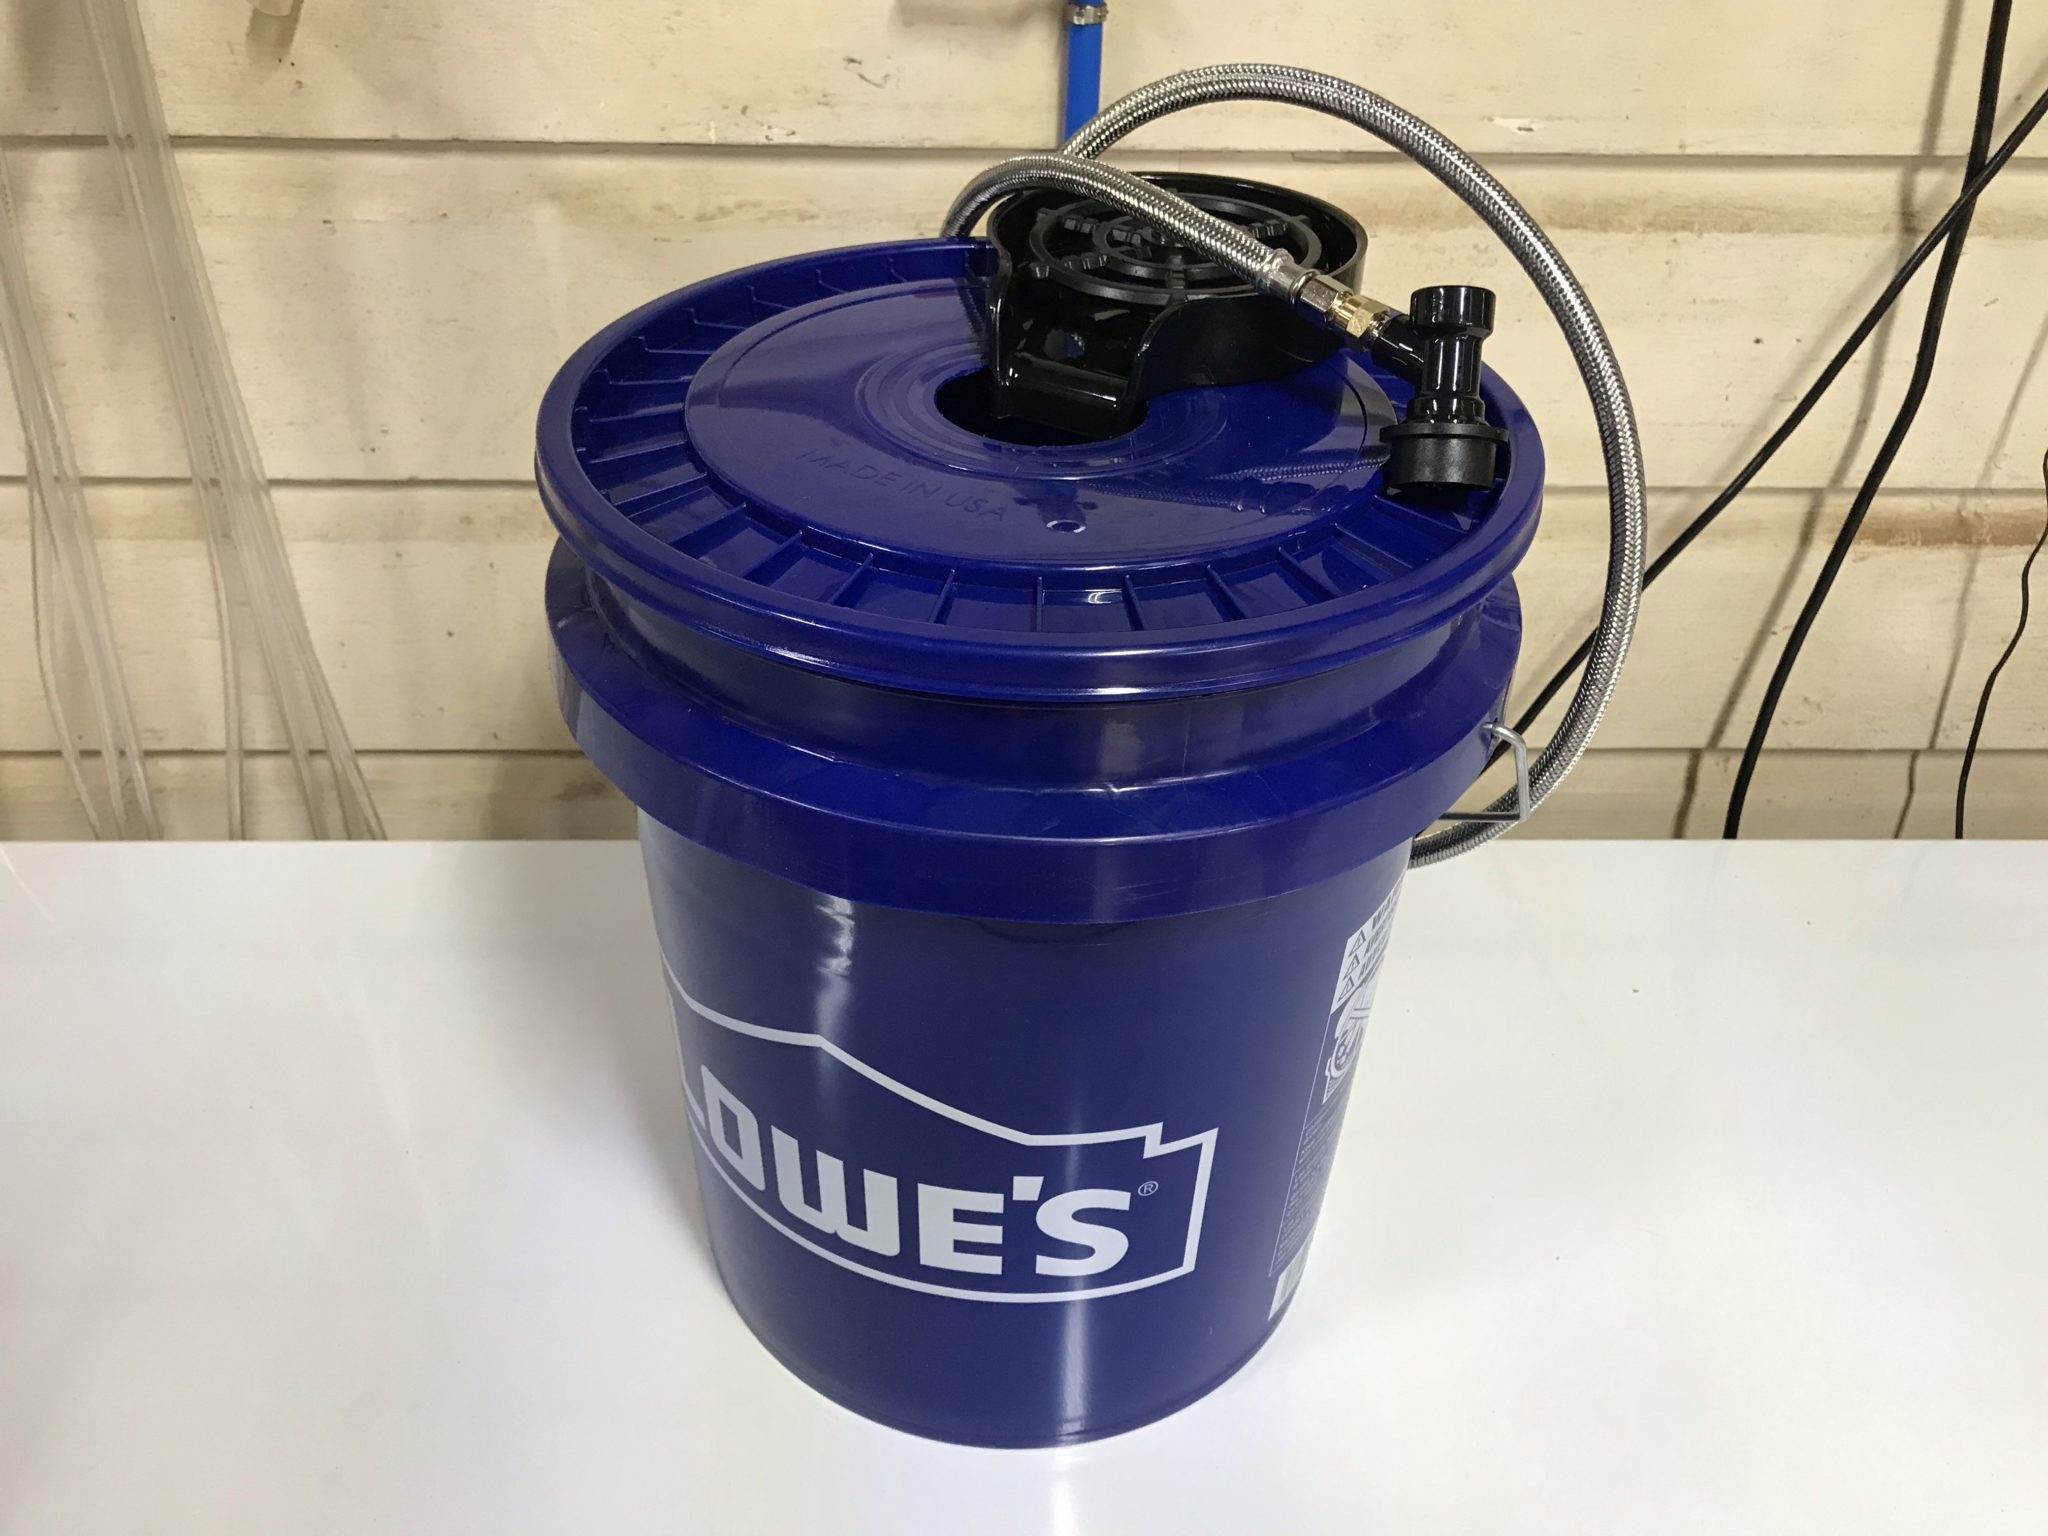
To use it, simply attach the liquid out disconnect to a Corny keg full of water, and use 10-15 psi of CO2 to push water to the glass rinser. The water doesn’t need to be kept as cold as beer for rinsing, so the whole setup can be easily toted around as needed without the need for a jockey box, ice, or even a table. May your patrons enjoy clean glasses at your next event!