
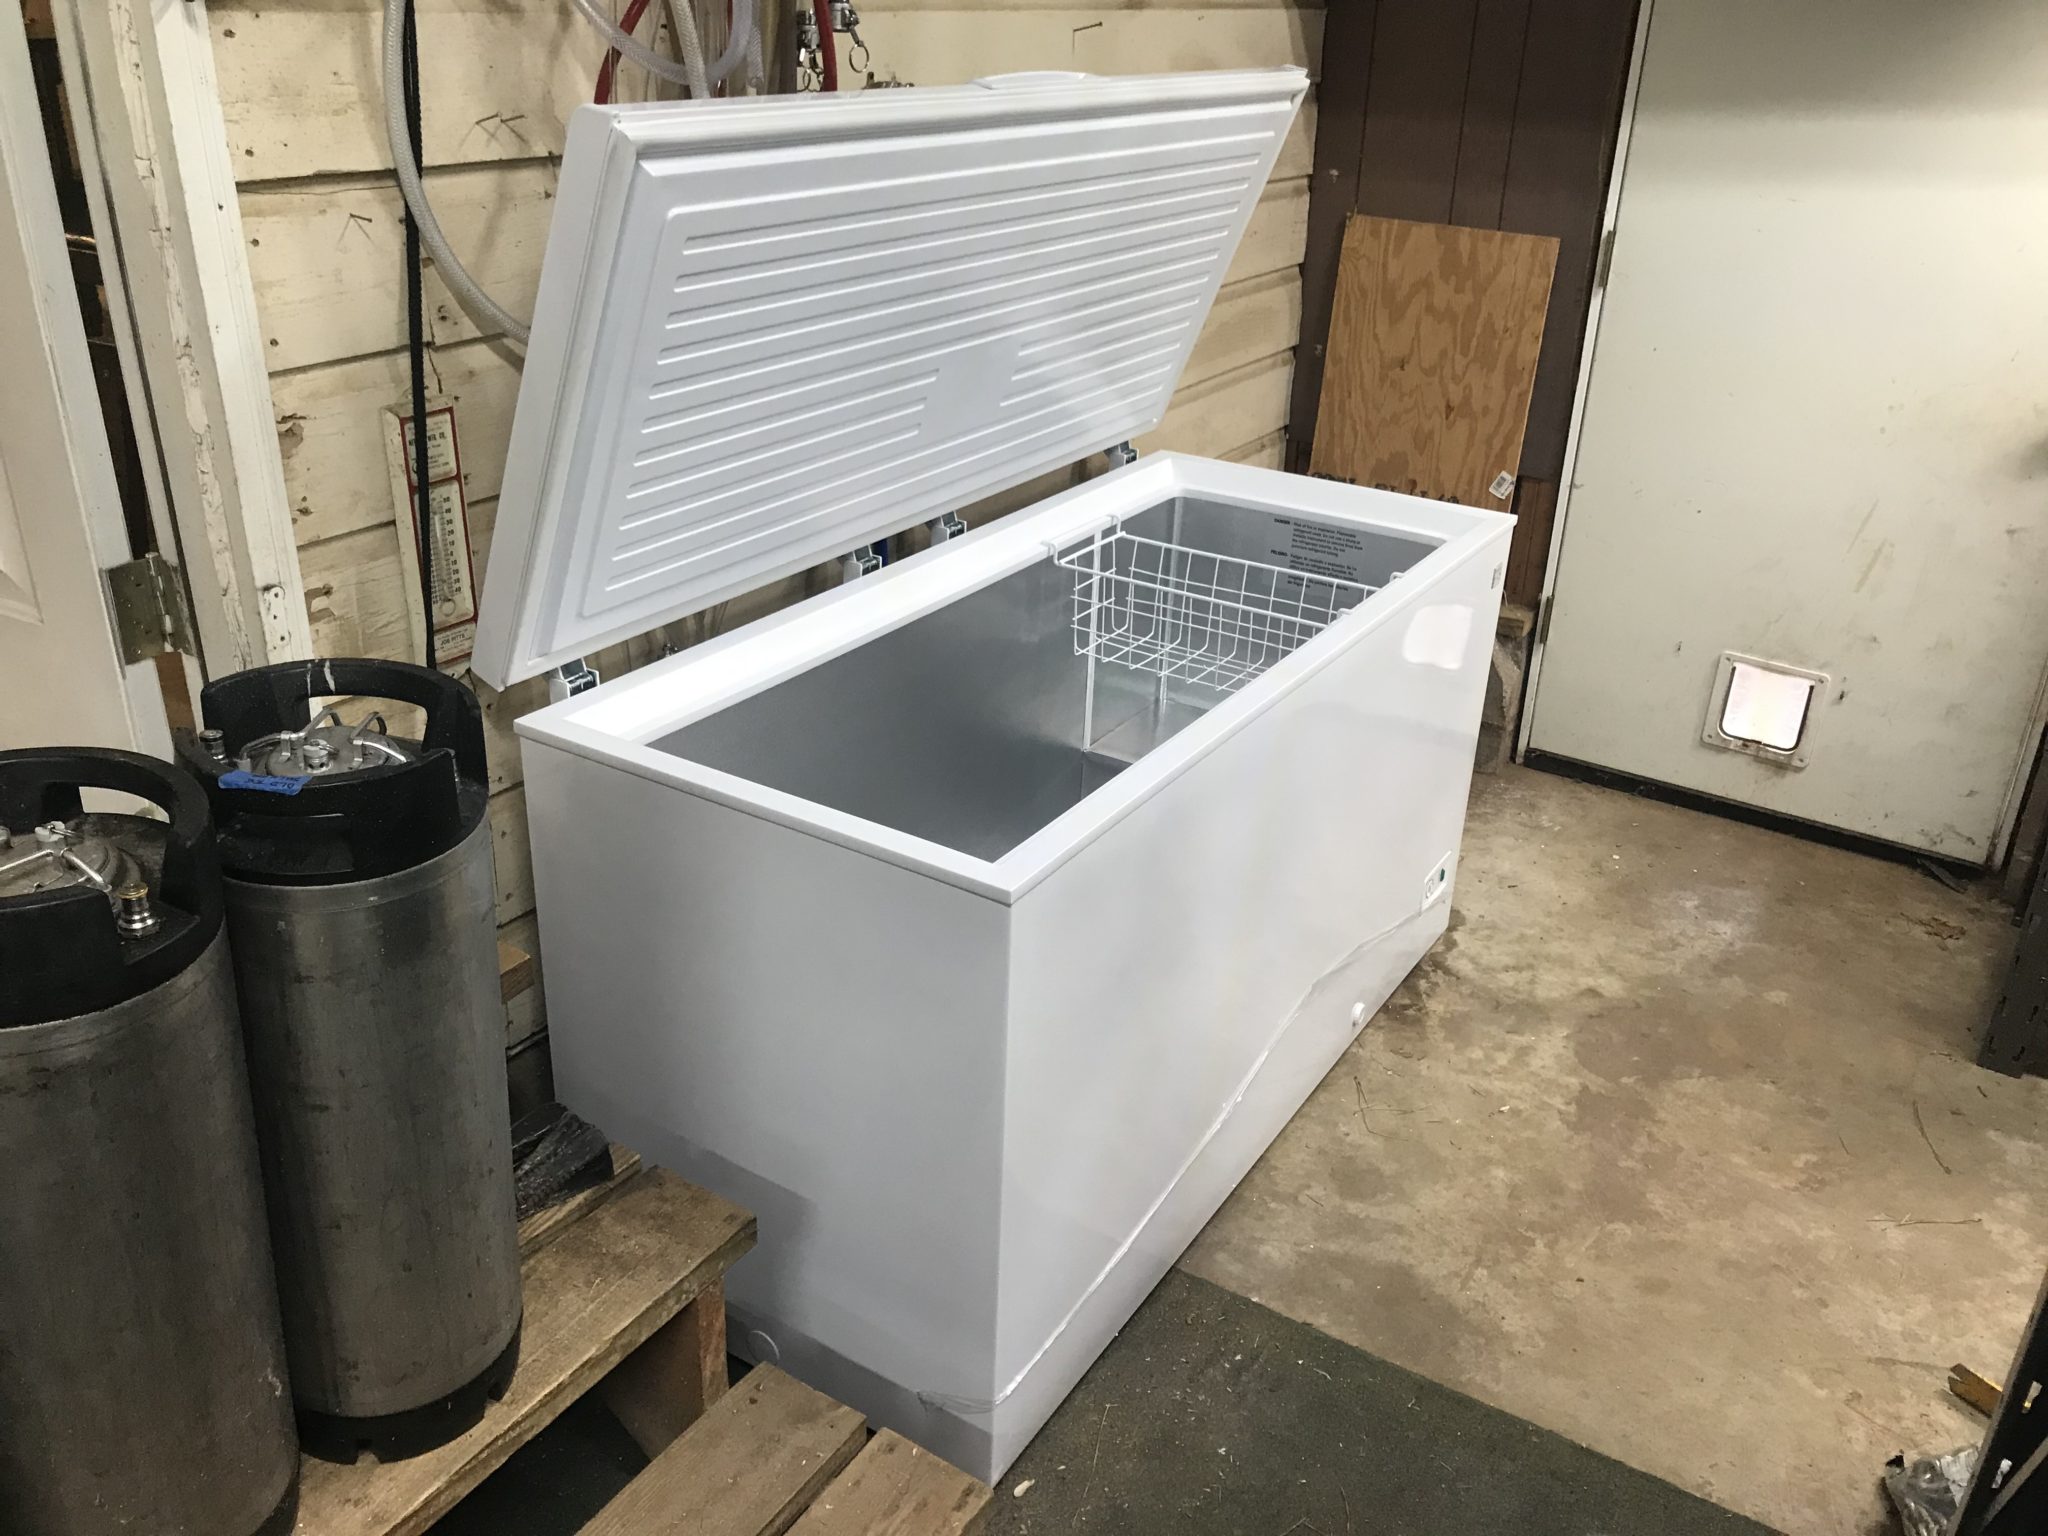
I built a keezer last year when I ran out of room for kegs between the garage fridge and two smaller kegerators. I was previously still using picnic taps except for one proper tap on one of the kegerators, and was itching to up my game for a better beer pouring experience. Plus, I had beer that needed to stay cold! So I shopped around for a freezer that would fit my Corny kegs, and landed on the Kenmore KLFC015MWD, a 14.8 cubit foot garage-ready chest freezer. At this size, with a collar, I can fit a full ten Corny kegs if I need to.
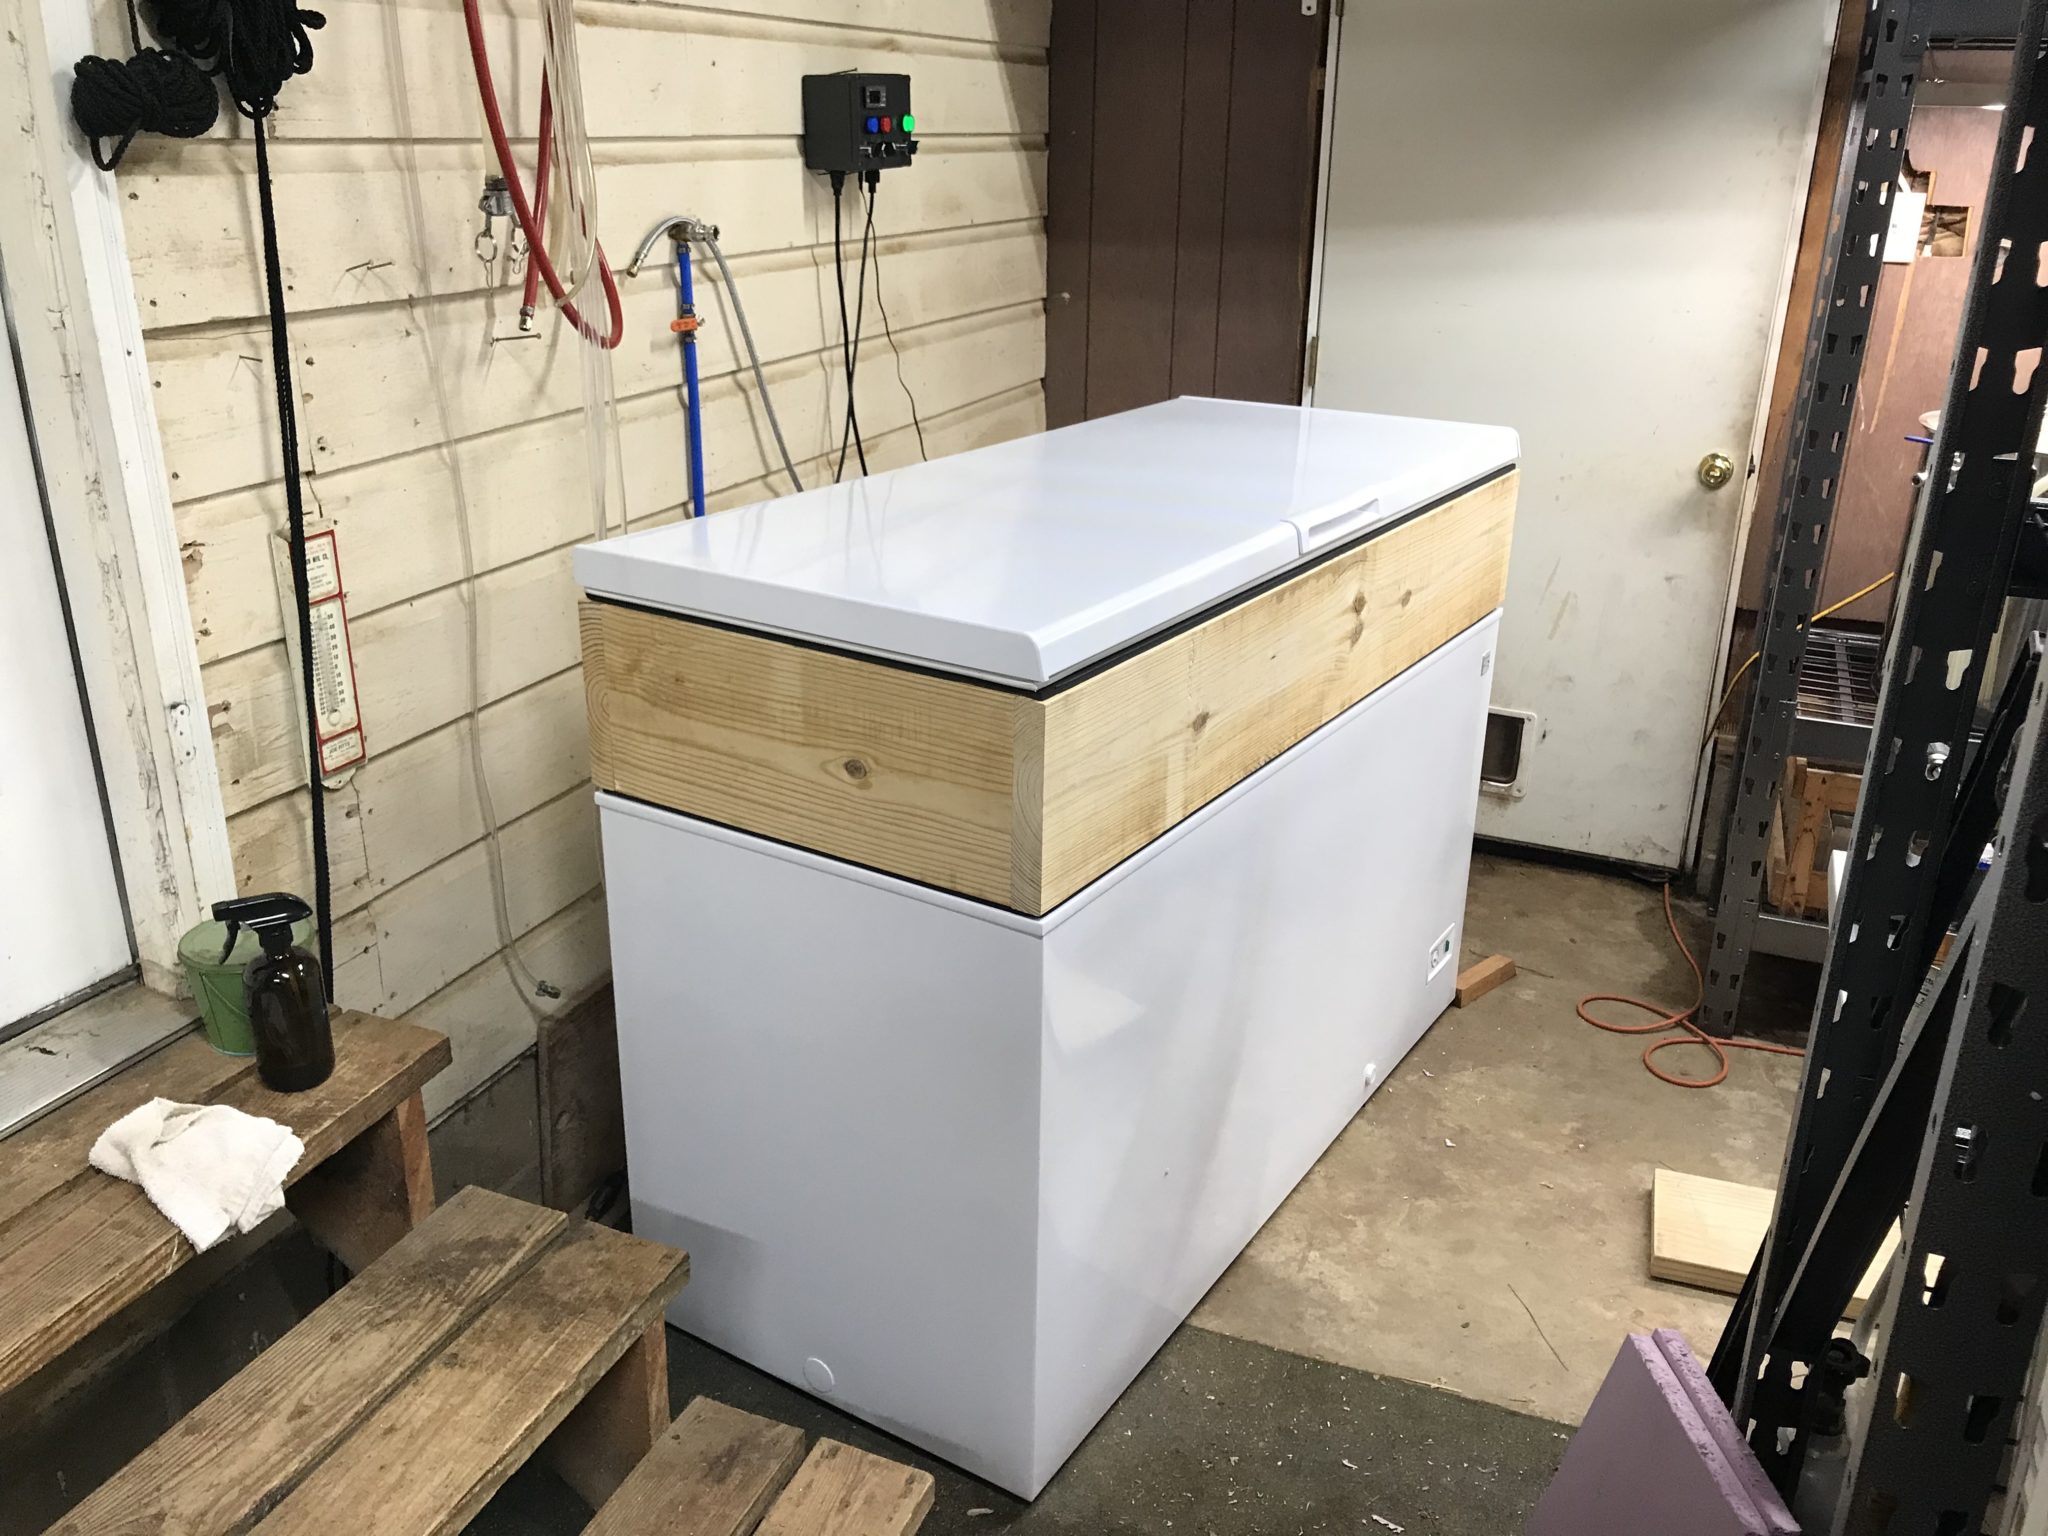
My first priority was to just get the beer in the freezer and keep it cold, so I whipped up a collar out of 2×10 boards. This is a rather tall collar for a keezer, but it means 2 kegs can fit on the compressor hump. I assembled the collar with pocket screws and ran weatherstripping on both the top and the bottom of it. Then I just set the collar in place on the freezer after removing the lid. It’s actually not secured to the freezer directly, just creating a seal with its weight (those 2x10s are not light). I relocated the freezer lid to the collar, and at this point have a fully sealed freezer again.
Inside, I ran 1-inch rigid foam insulation around the inside of the collar. It’s temporarily secured with foil tape but will eventually be glued and caulked in place.

There were a few specific features I wanted for the keezer: a light that comes on when I open the lid, fans to recirculate the cold air to avoid stratification, and, of course, temperature control.
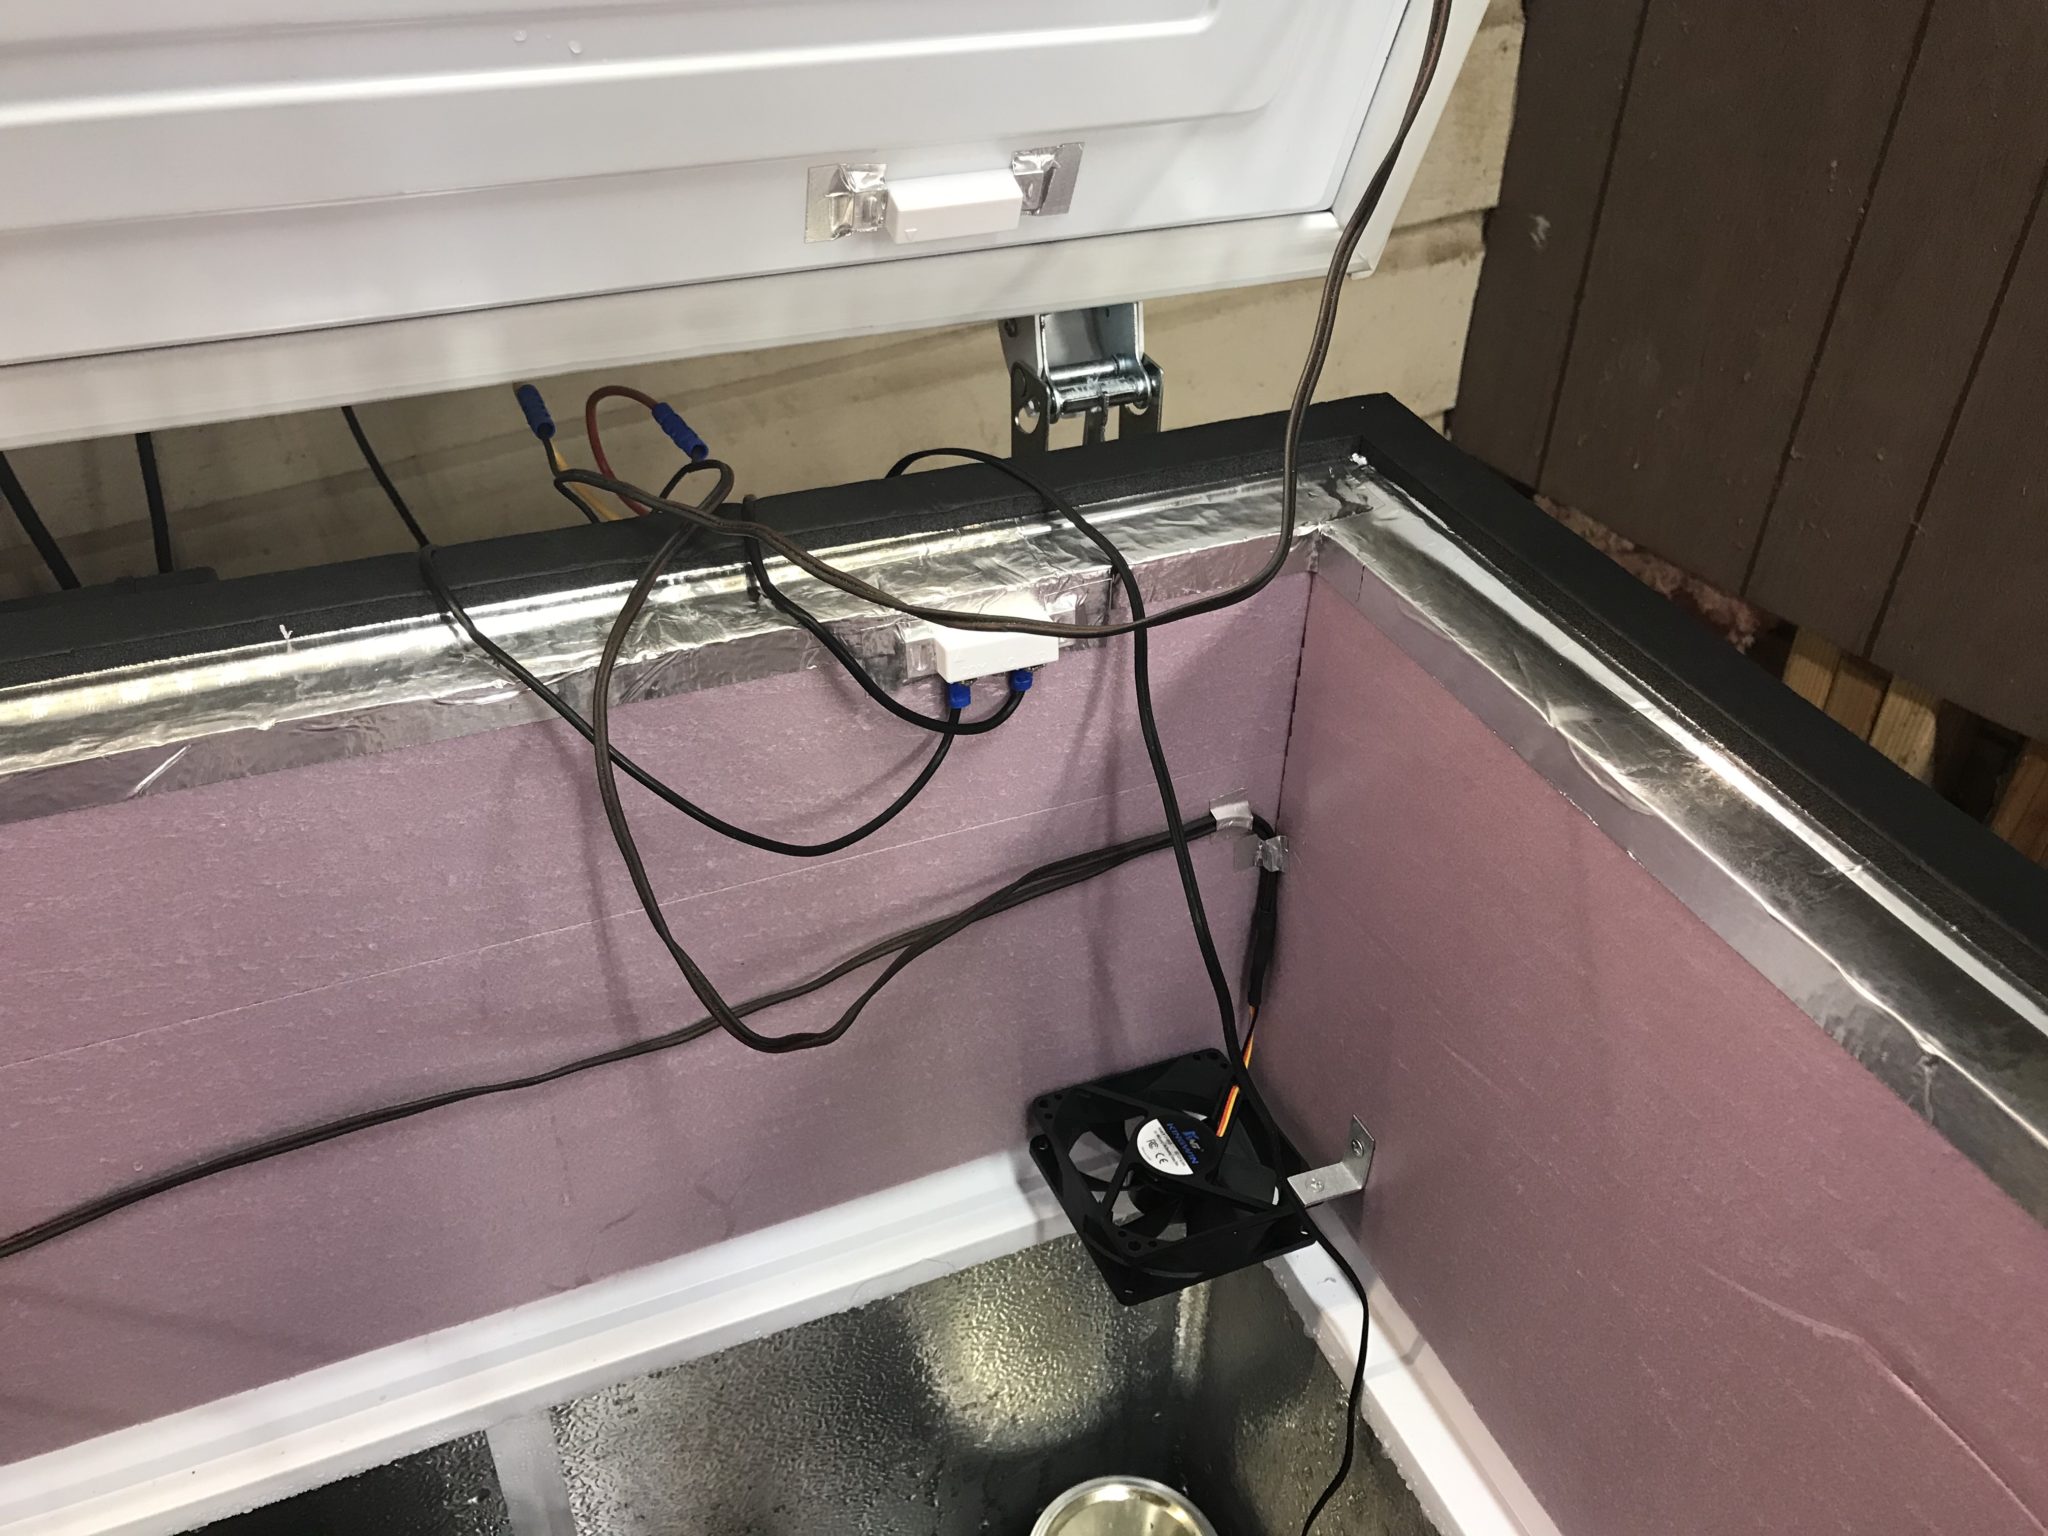
For the light, I installed a waterproof LED strip with adhesive backing to the inside of the lid. This is connected to a magnetic reed switch so it turns on when the lid is opened.
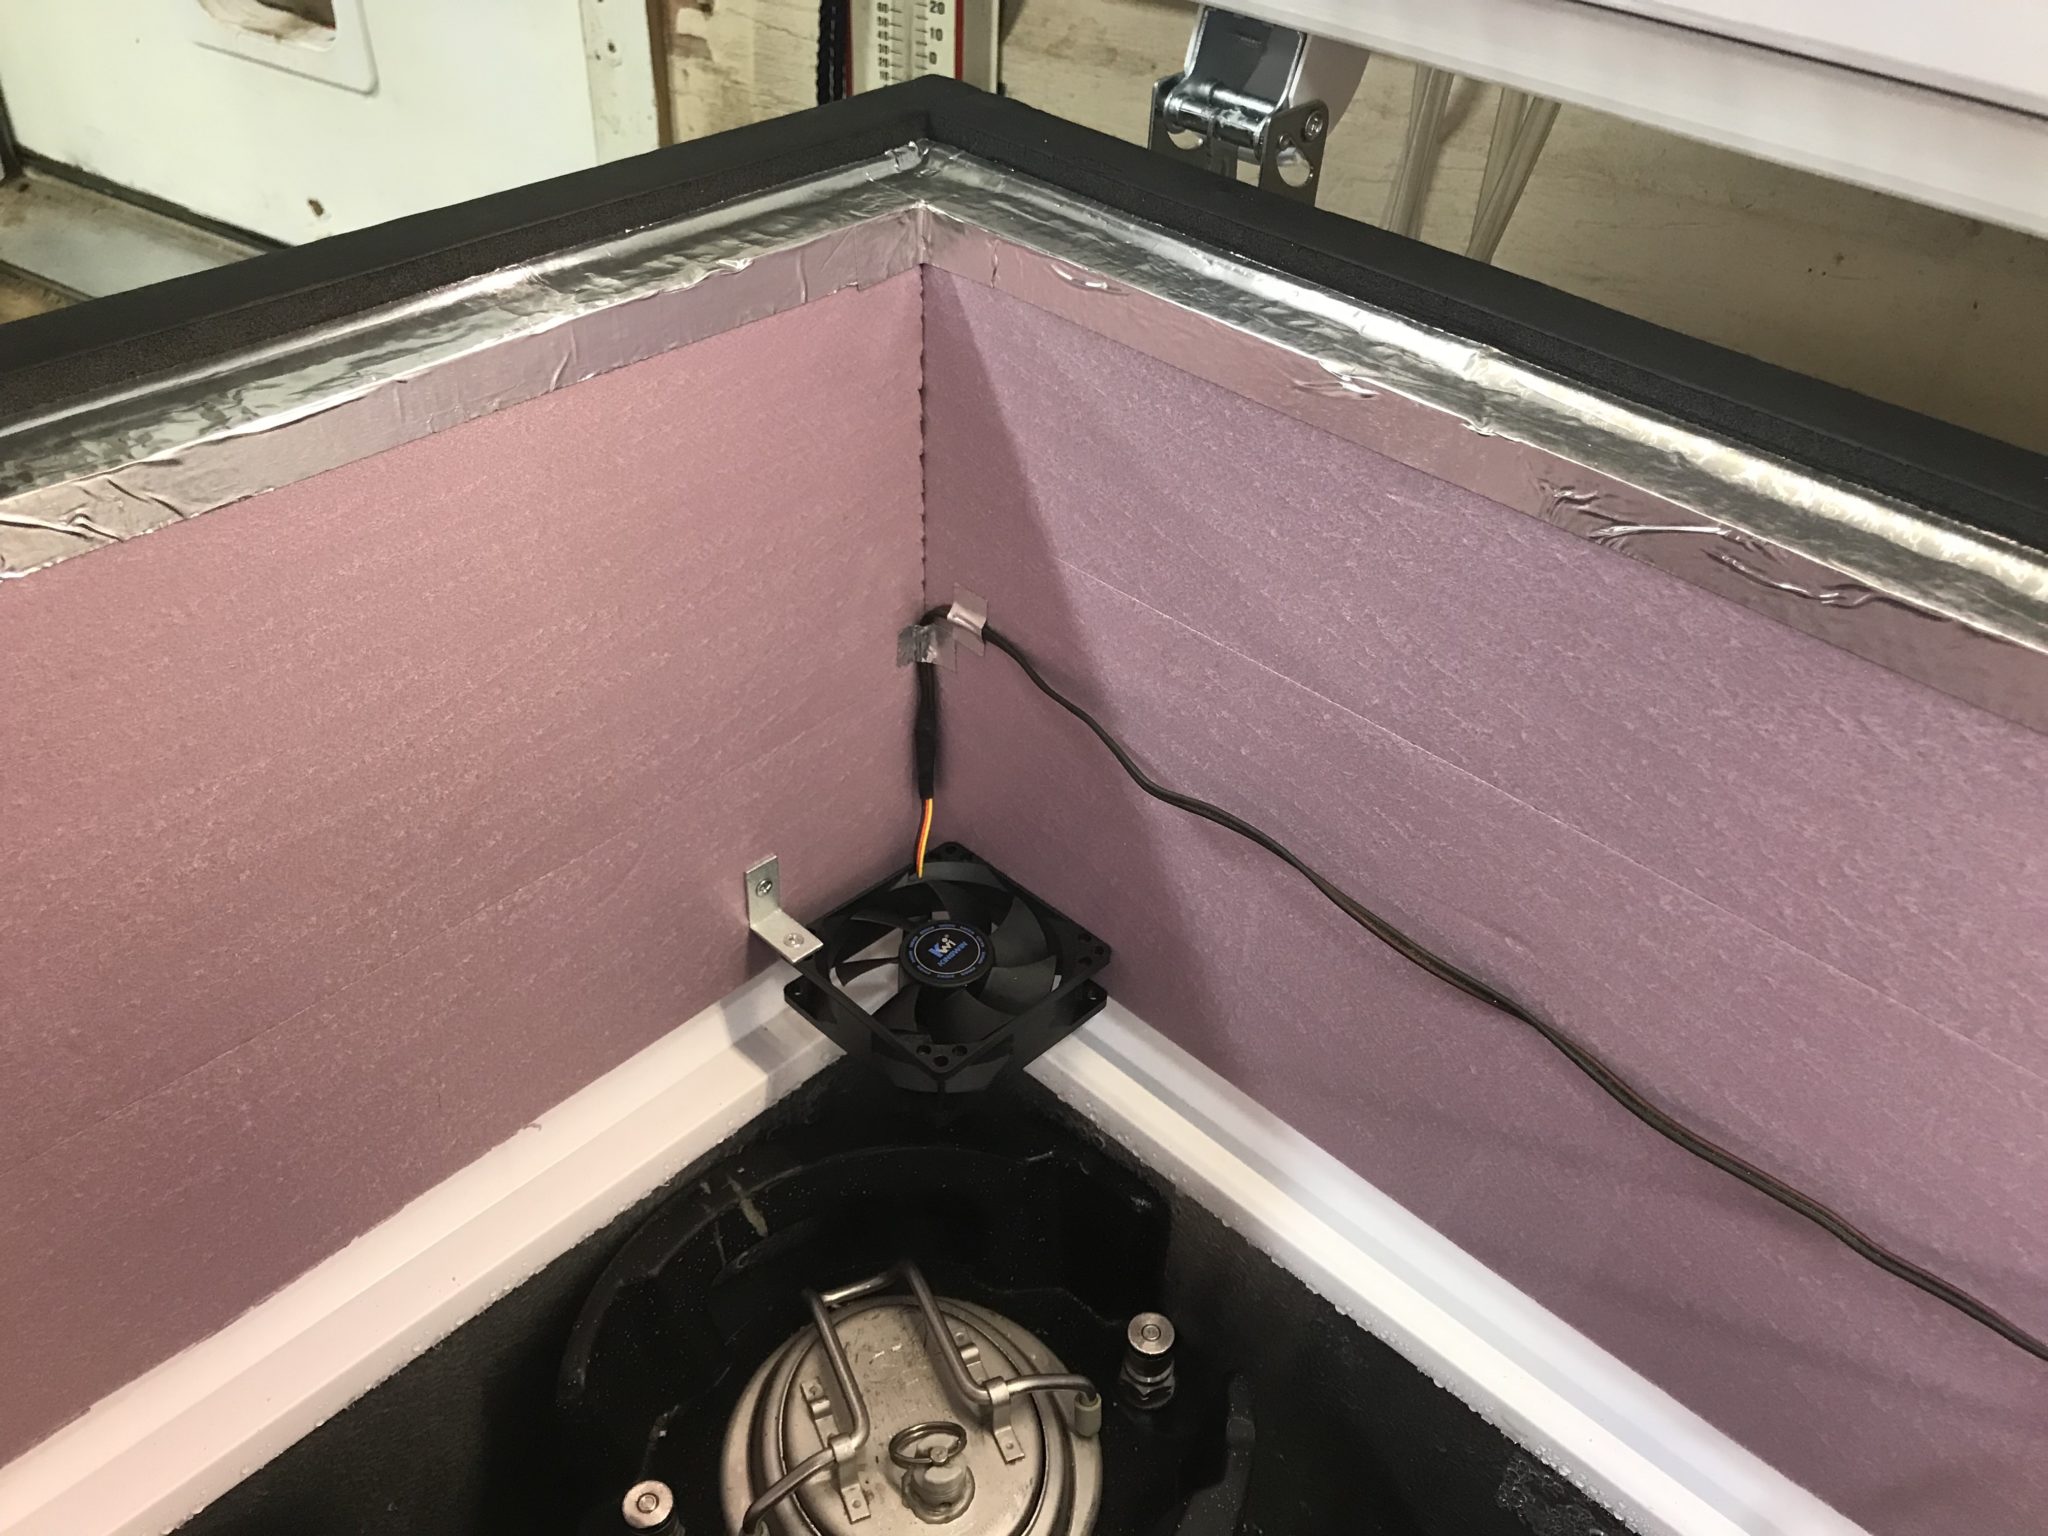
For the fans, I used 2 old computer fans that I had on hand, and installed them in the corners of the freezer with angle brackets to draw cold air up from the bottom. These are connected to the same magnetic reed switch, but wired so they are on when the lid is closed, and turn off when it’s opened to avoid blowing all the cold air out of the freezer.
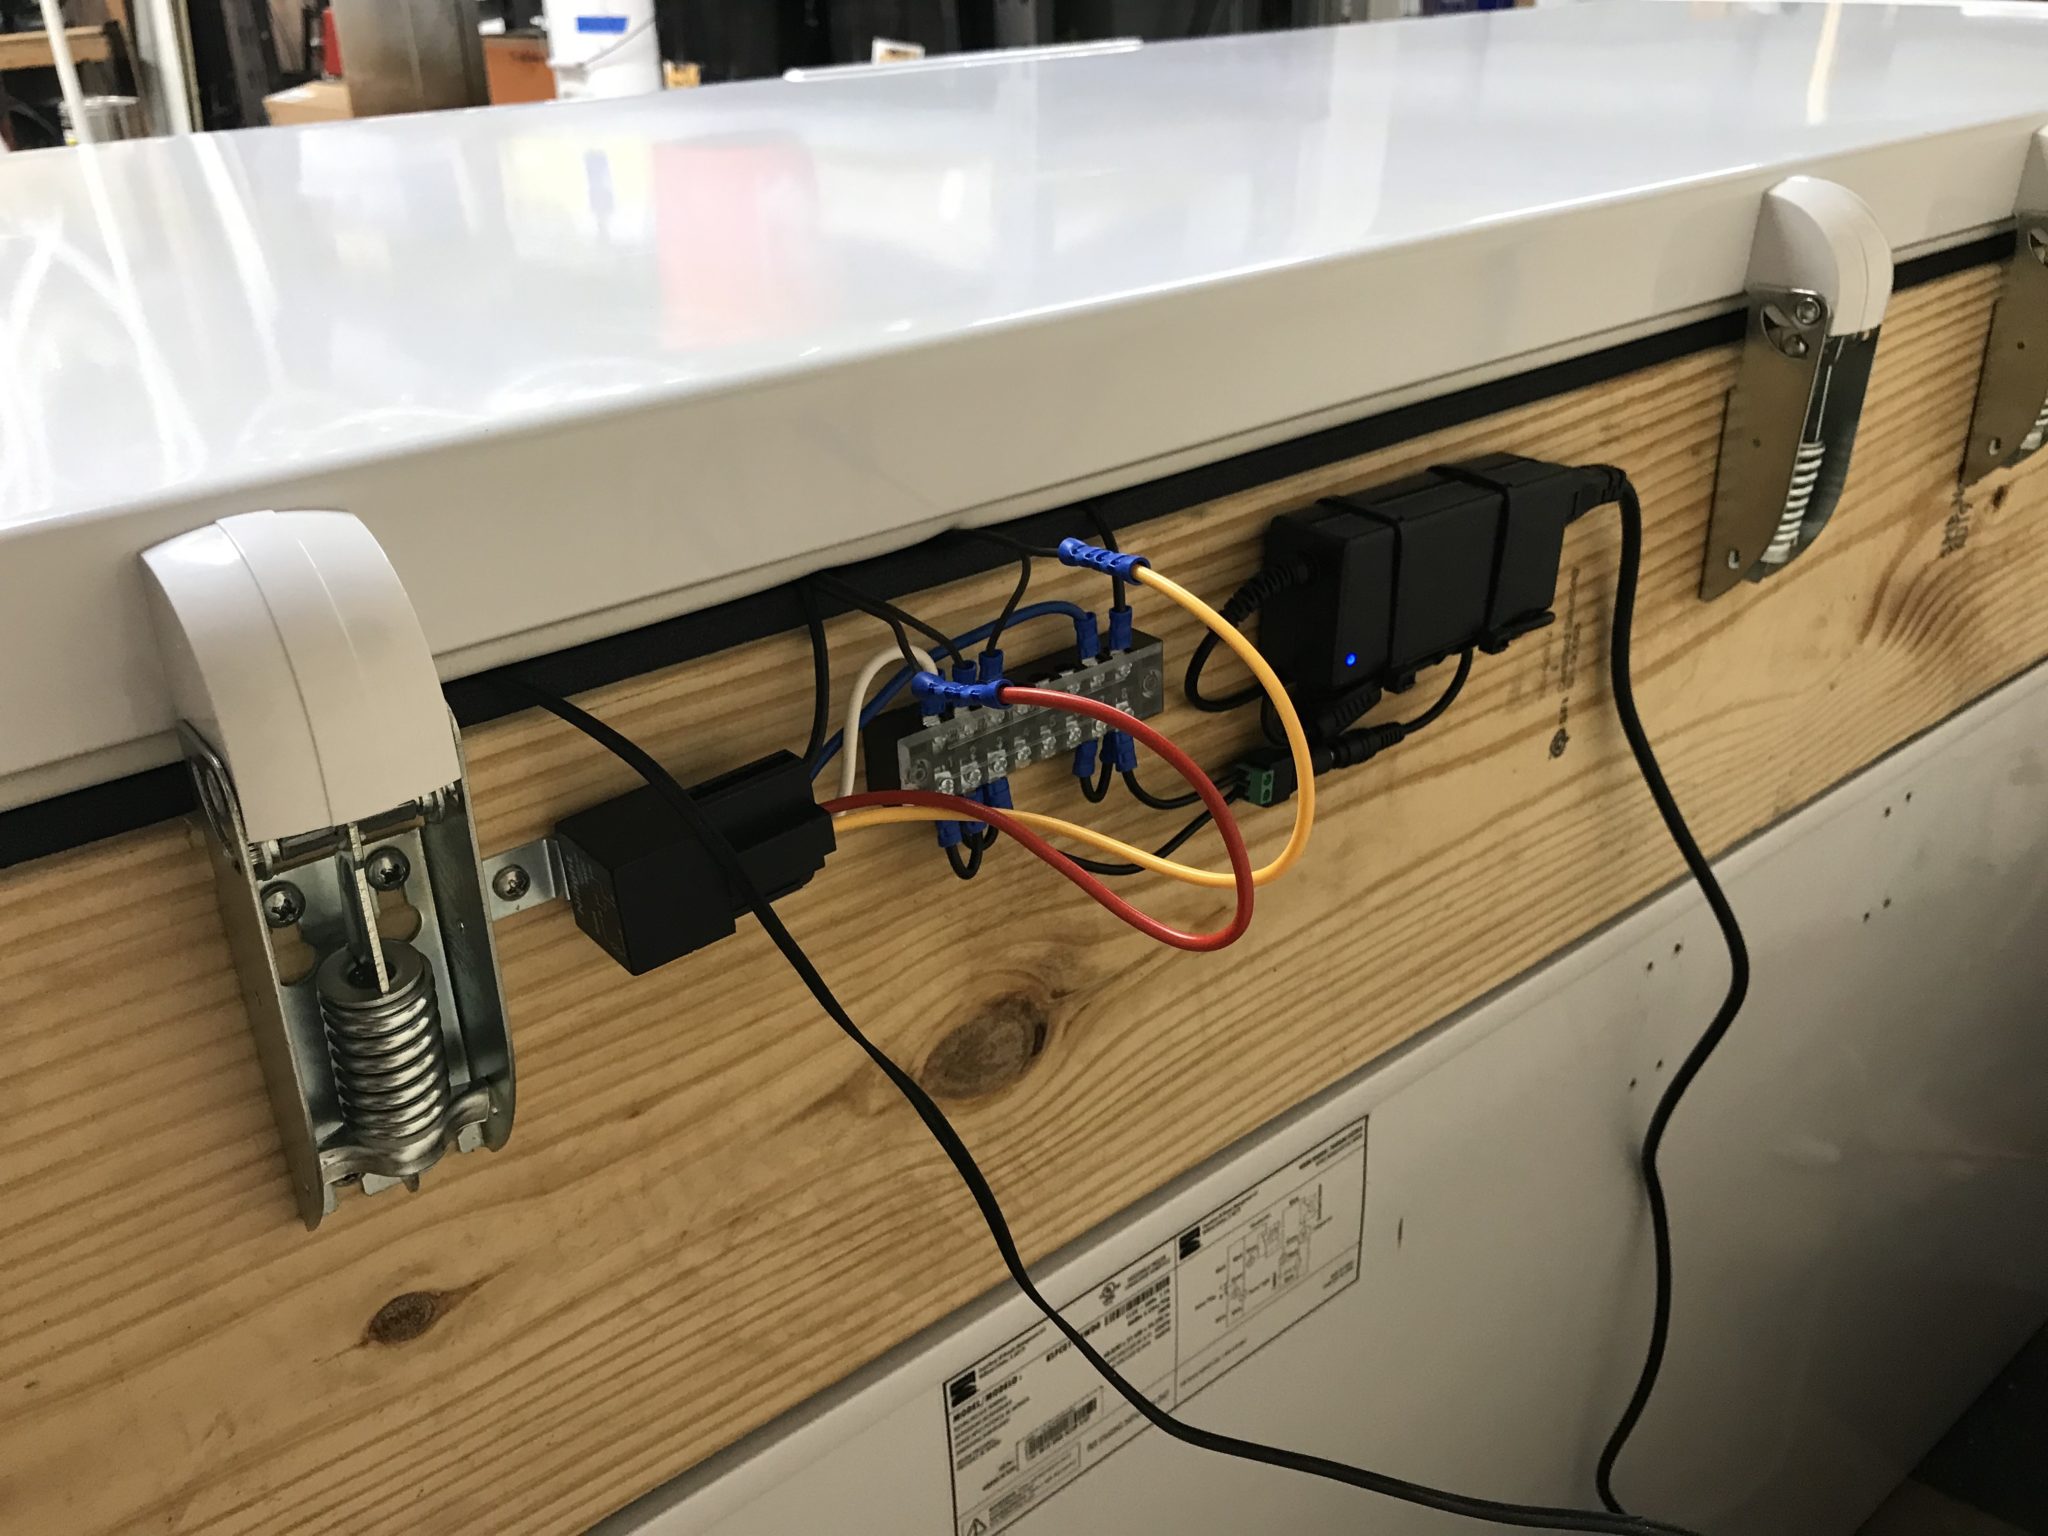
On the back of the collar, I mounted the 12-volt power supply that powers both the LED strip and the computer fans, a terminal block that handles power distribution, and a relay that is wired into the magnetic reed switch for switching power to the LED strip and computer fans.
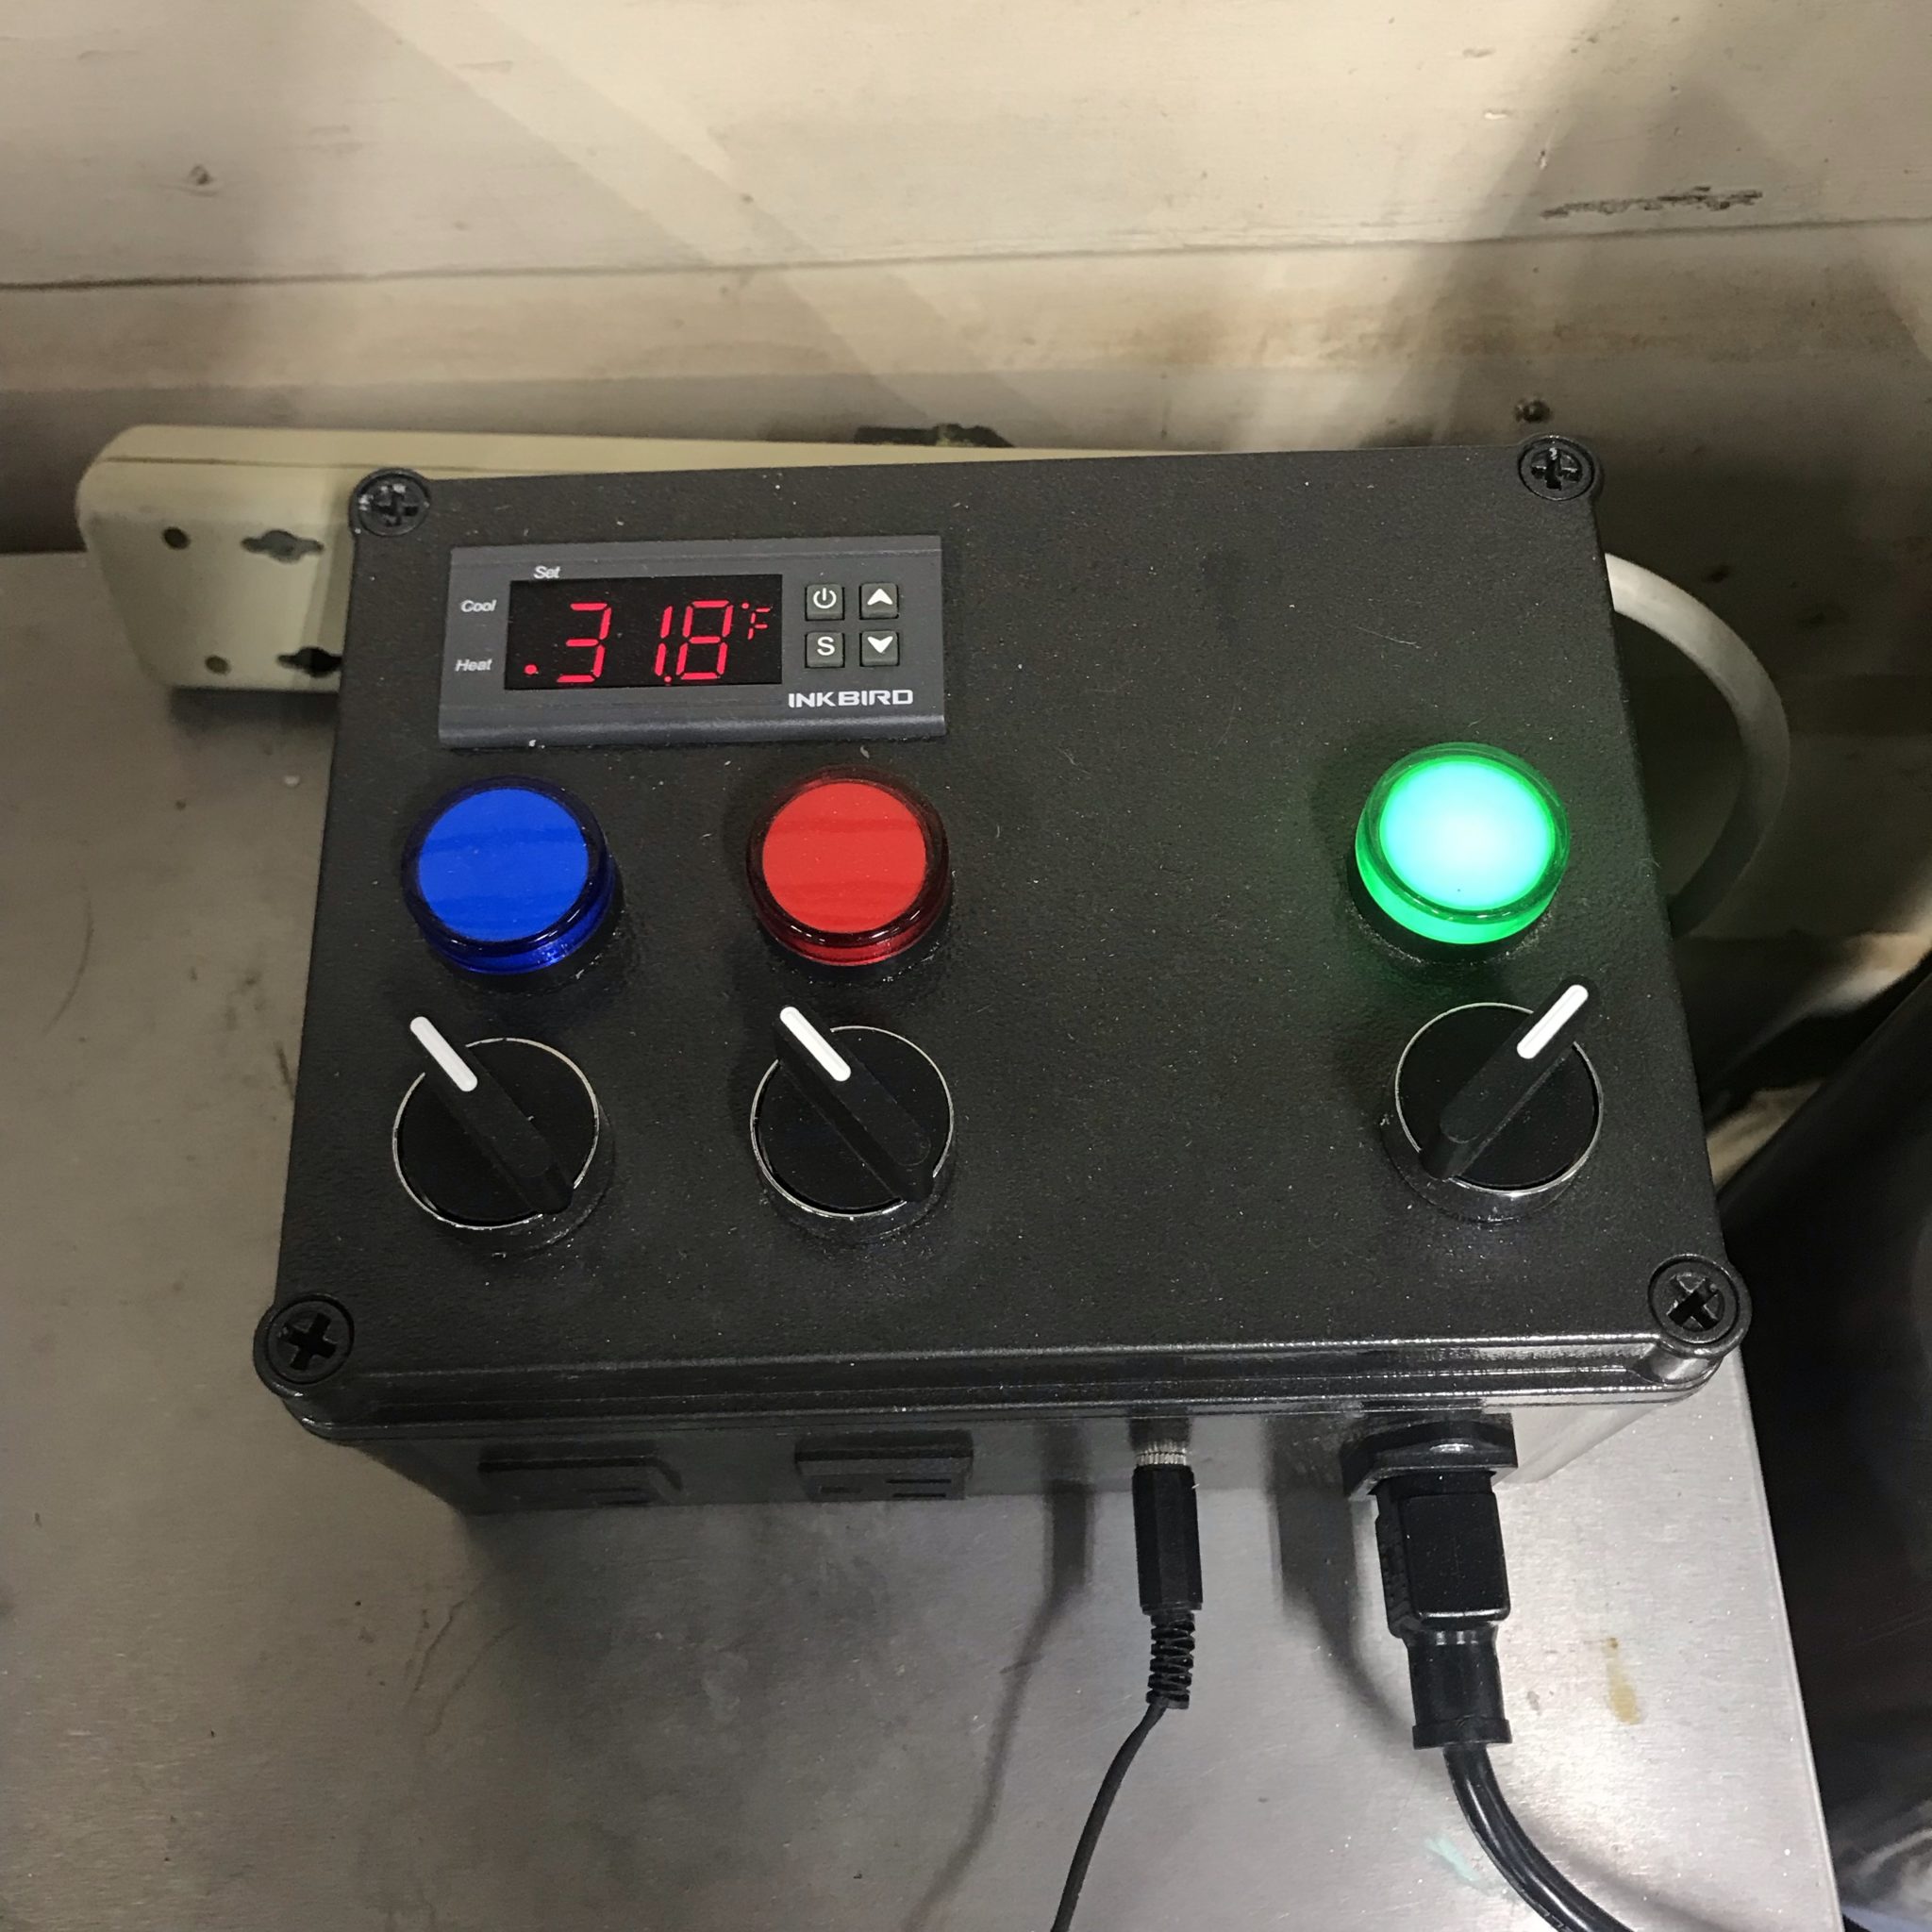
For temperature control, I actually just reused the temperature controller that I had previously built. This was a super easy plug-and-play solution, as all I had to do was plug the freezer into the controller, plug the controller into the wall, and run the temperature probe into the freezer into a jar of Star San.
But this still isn’t a proper keezer without taps! Stay tuned for part 2 to see how I plumbed all the beer lines.