
After building the collar for my keezer and adding a few features in part 1, it was time to add the taps and run beer lines. I decided to go with DuoTight fittings and Evabarrier line due to their price, ease of setup, and positive reviews.
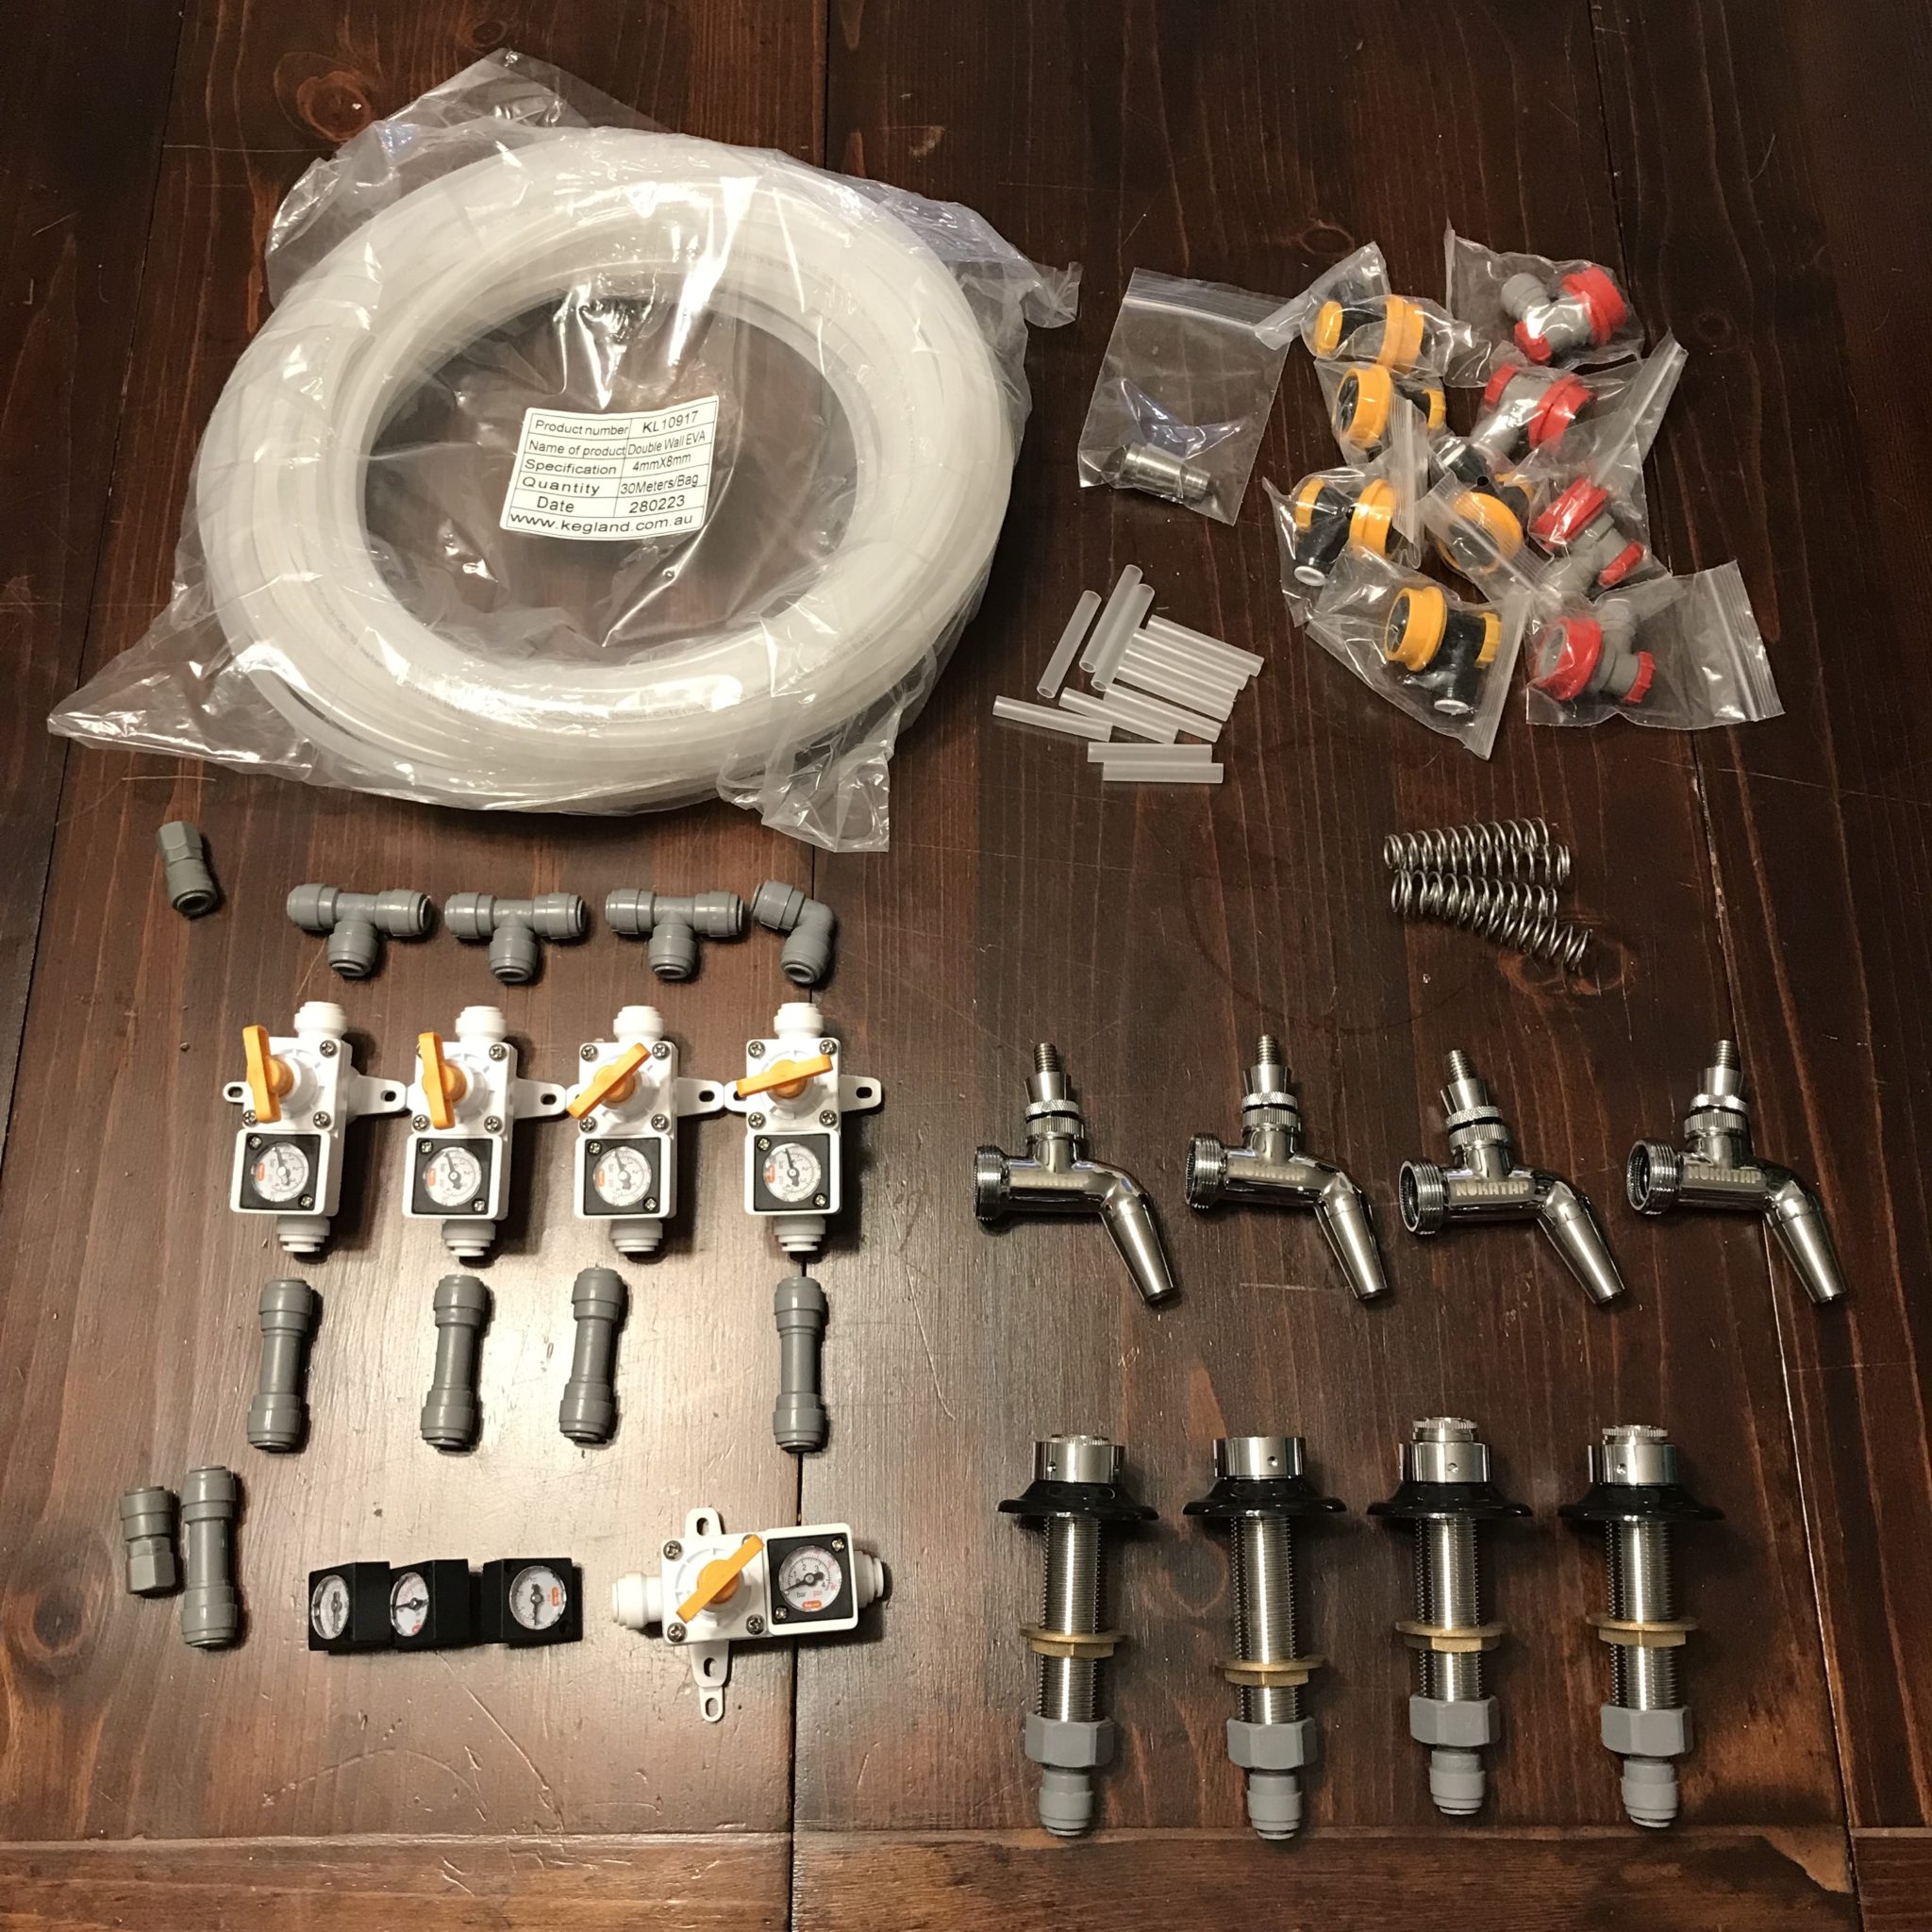
I started with four taps, with plans to expand to six or more down the road. Since I’m doing 10 gallon batches, that’s 2 kegs per beer, and if I don’t put any kegs on the compressor hump, that’s 8 kegs or 4 beers in the keezer. But I could mix and match and squeeze a couple more in there, so there’s room to grow.
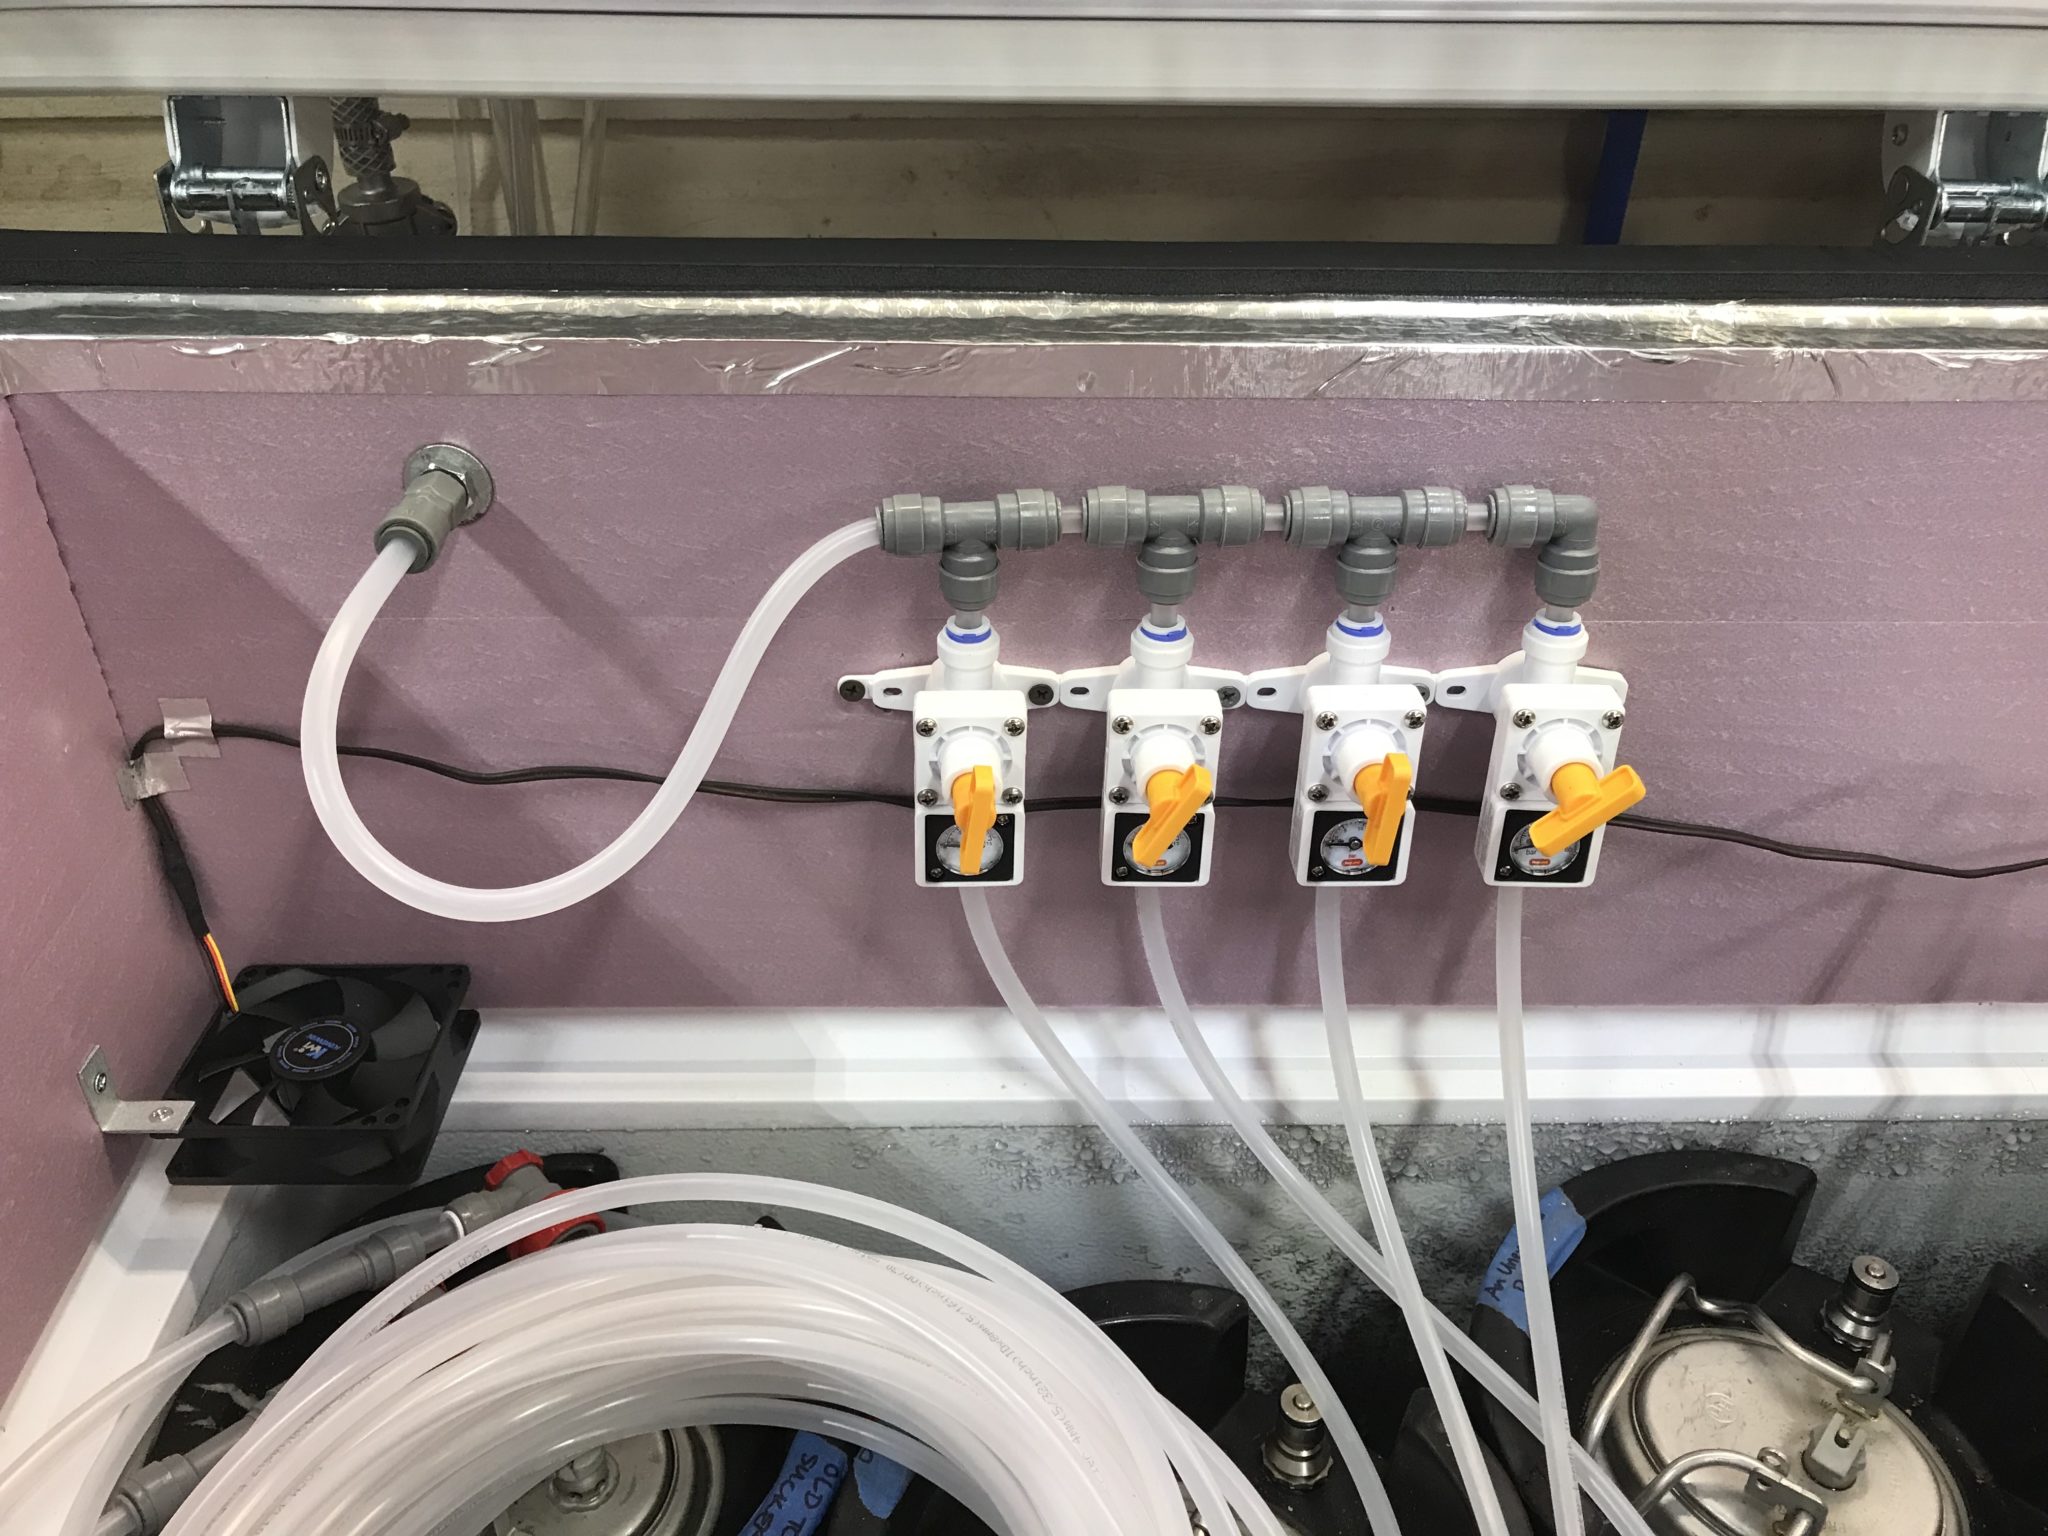
I opted to keep the CO2 tank outside the keezer to save space, and I plumbed the gas in using a bulkhead fitting. The DuoTight fittings make it easy to run a separate sub-regulator for each beer, so I was able to set my CO2 tank to a higher pressure, then dial it down depending on the beer style. I also have a dedicated keg of water that I run at a higher pressure, so this flexible system works well for my needs.
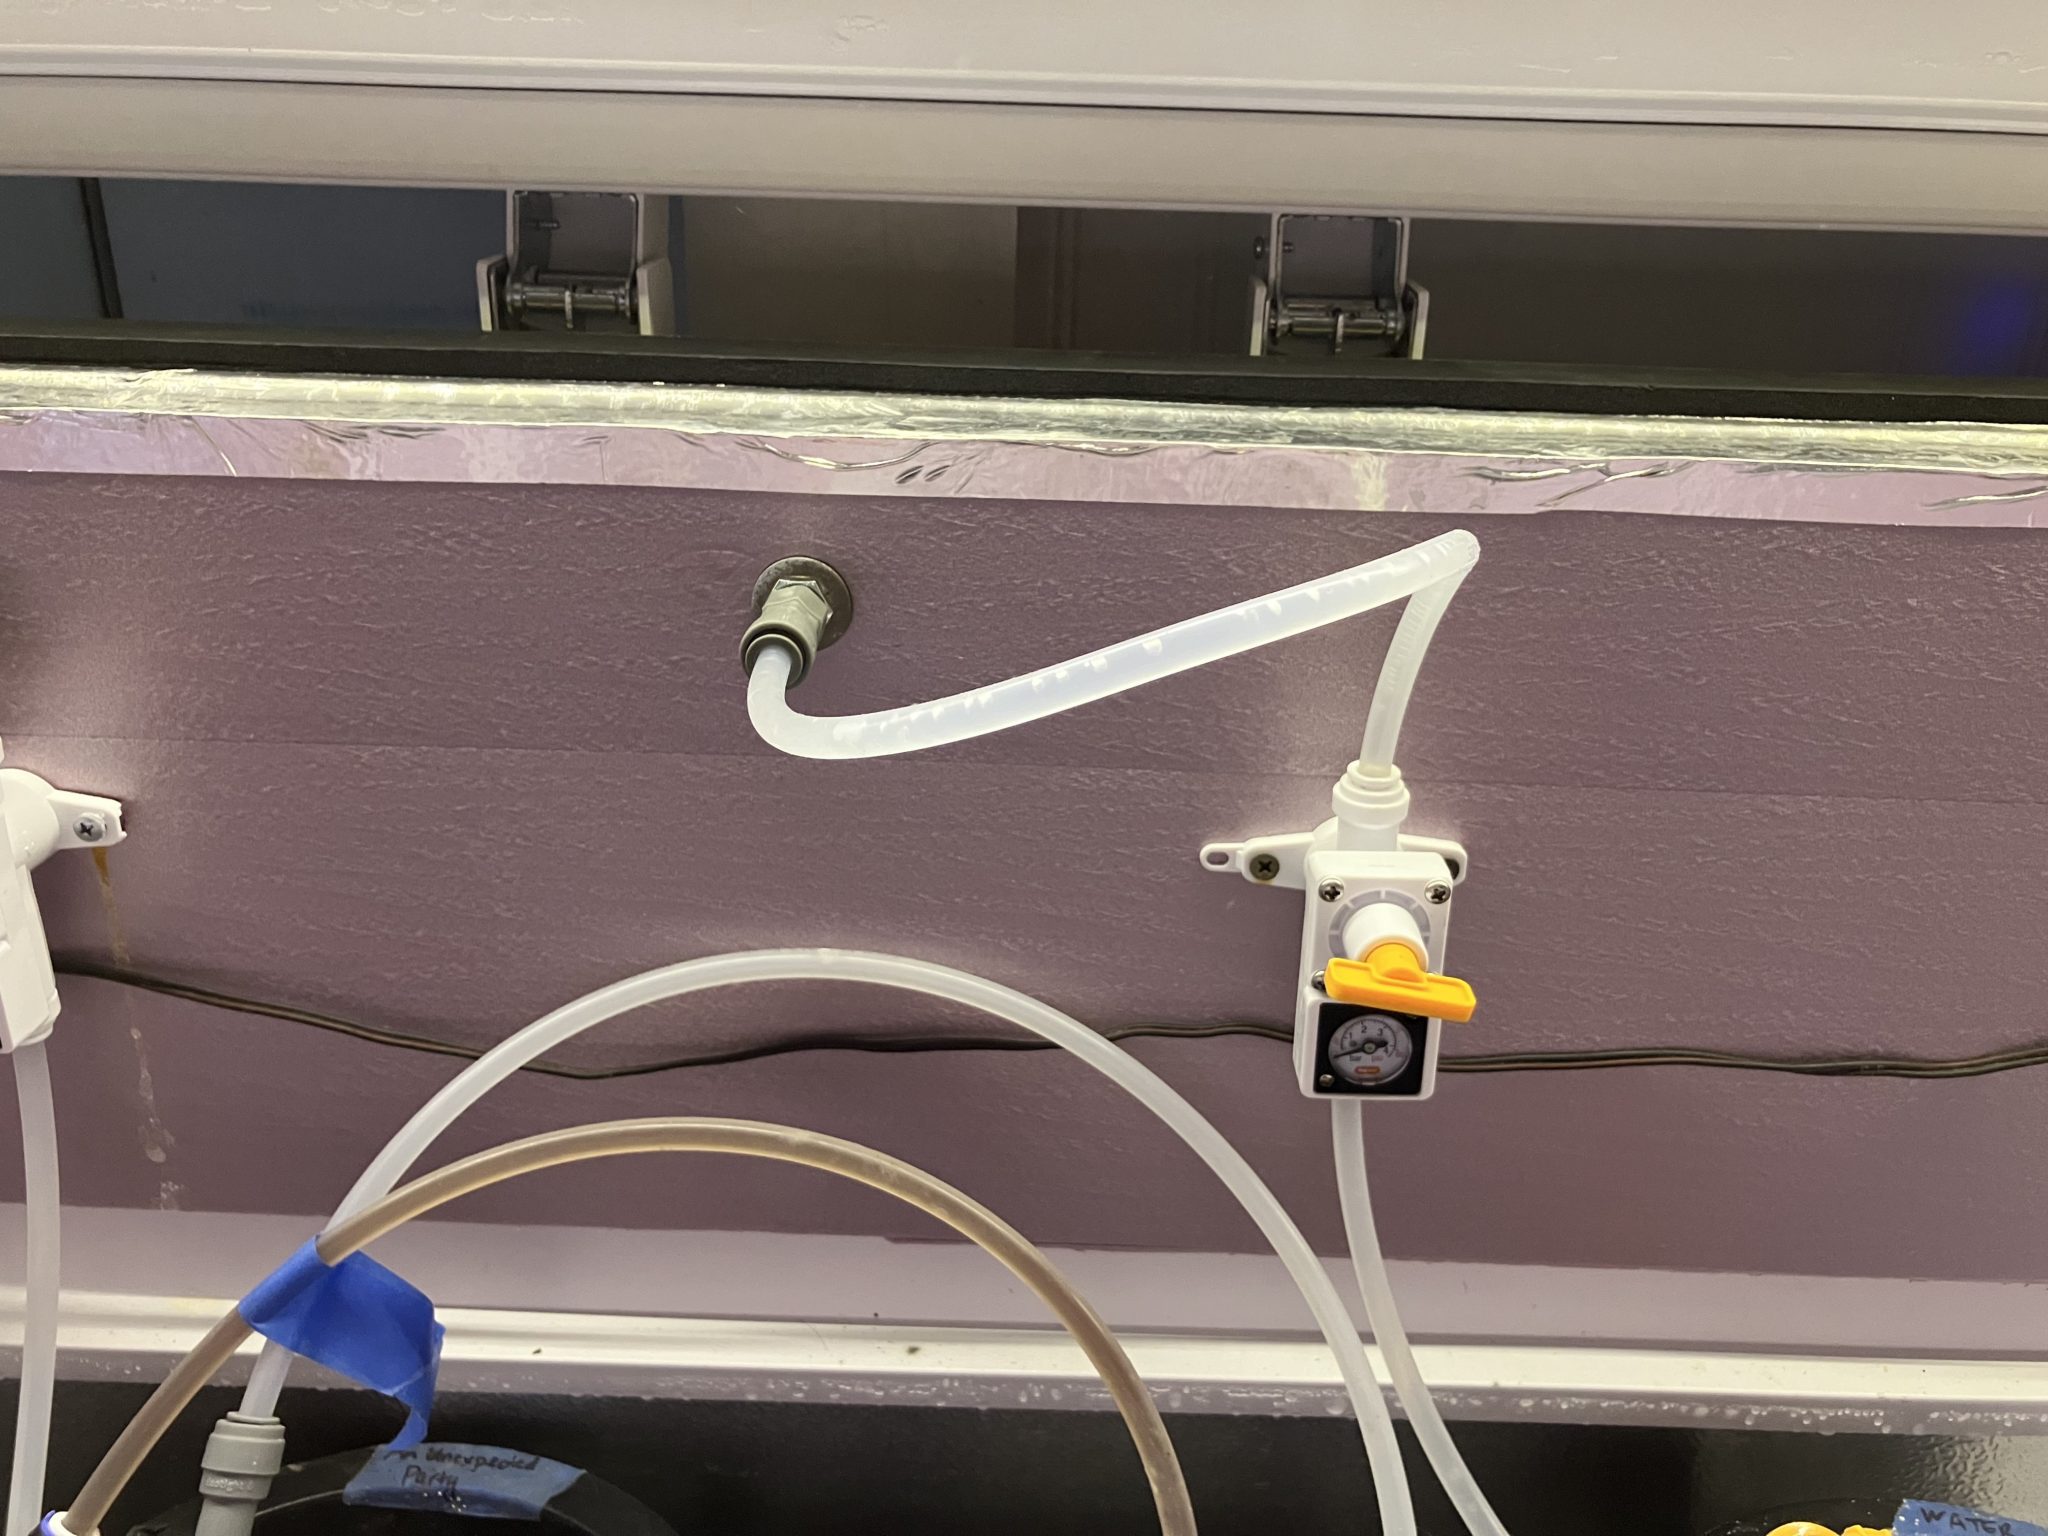
For my water keg, I plumbed in a dedicated water line with another bulkhead. This connects to an ice maker line on the outside, and runs through a regulator on the inside to reduce the water pressure. I’m using a continuous carbonator lid on my water keg, so being able to control both the incoming water pressure and the incoming gas pressure is important for it to function correctly.
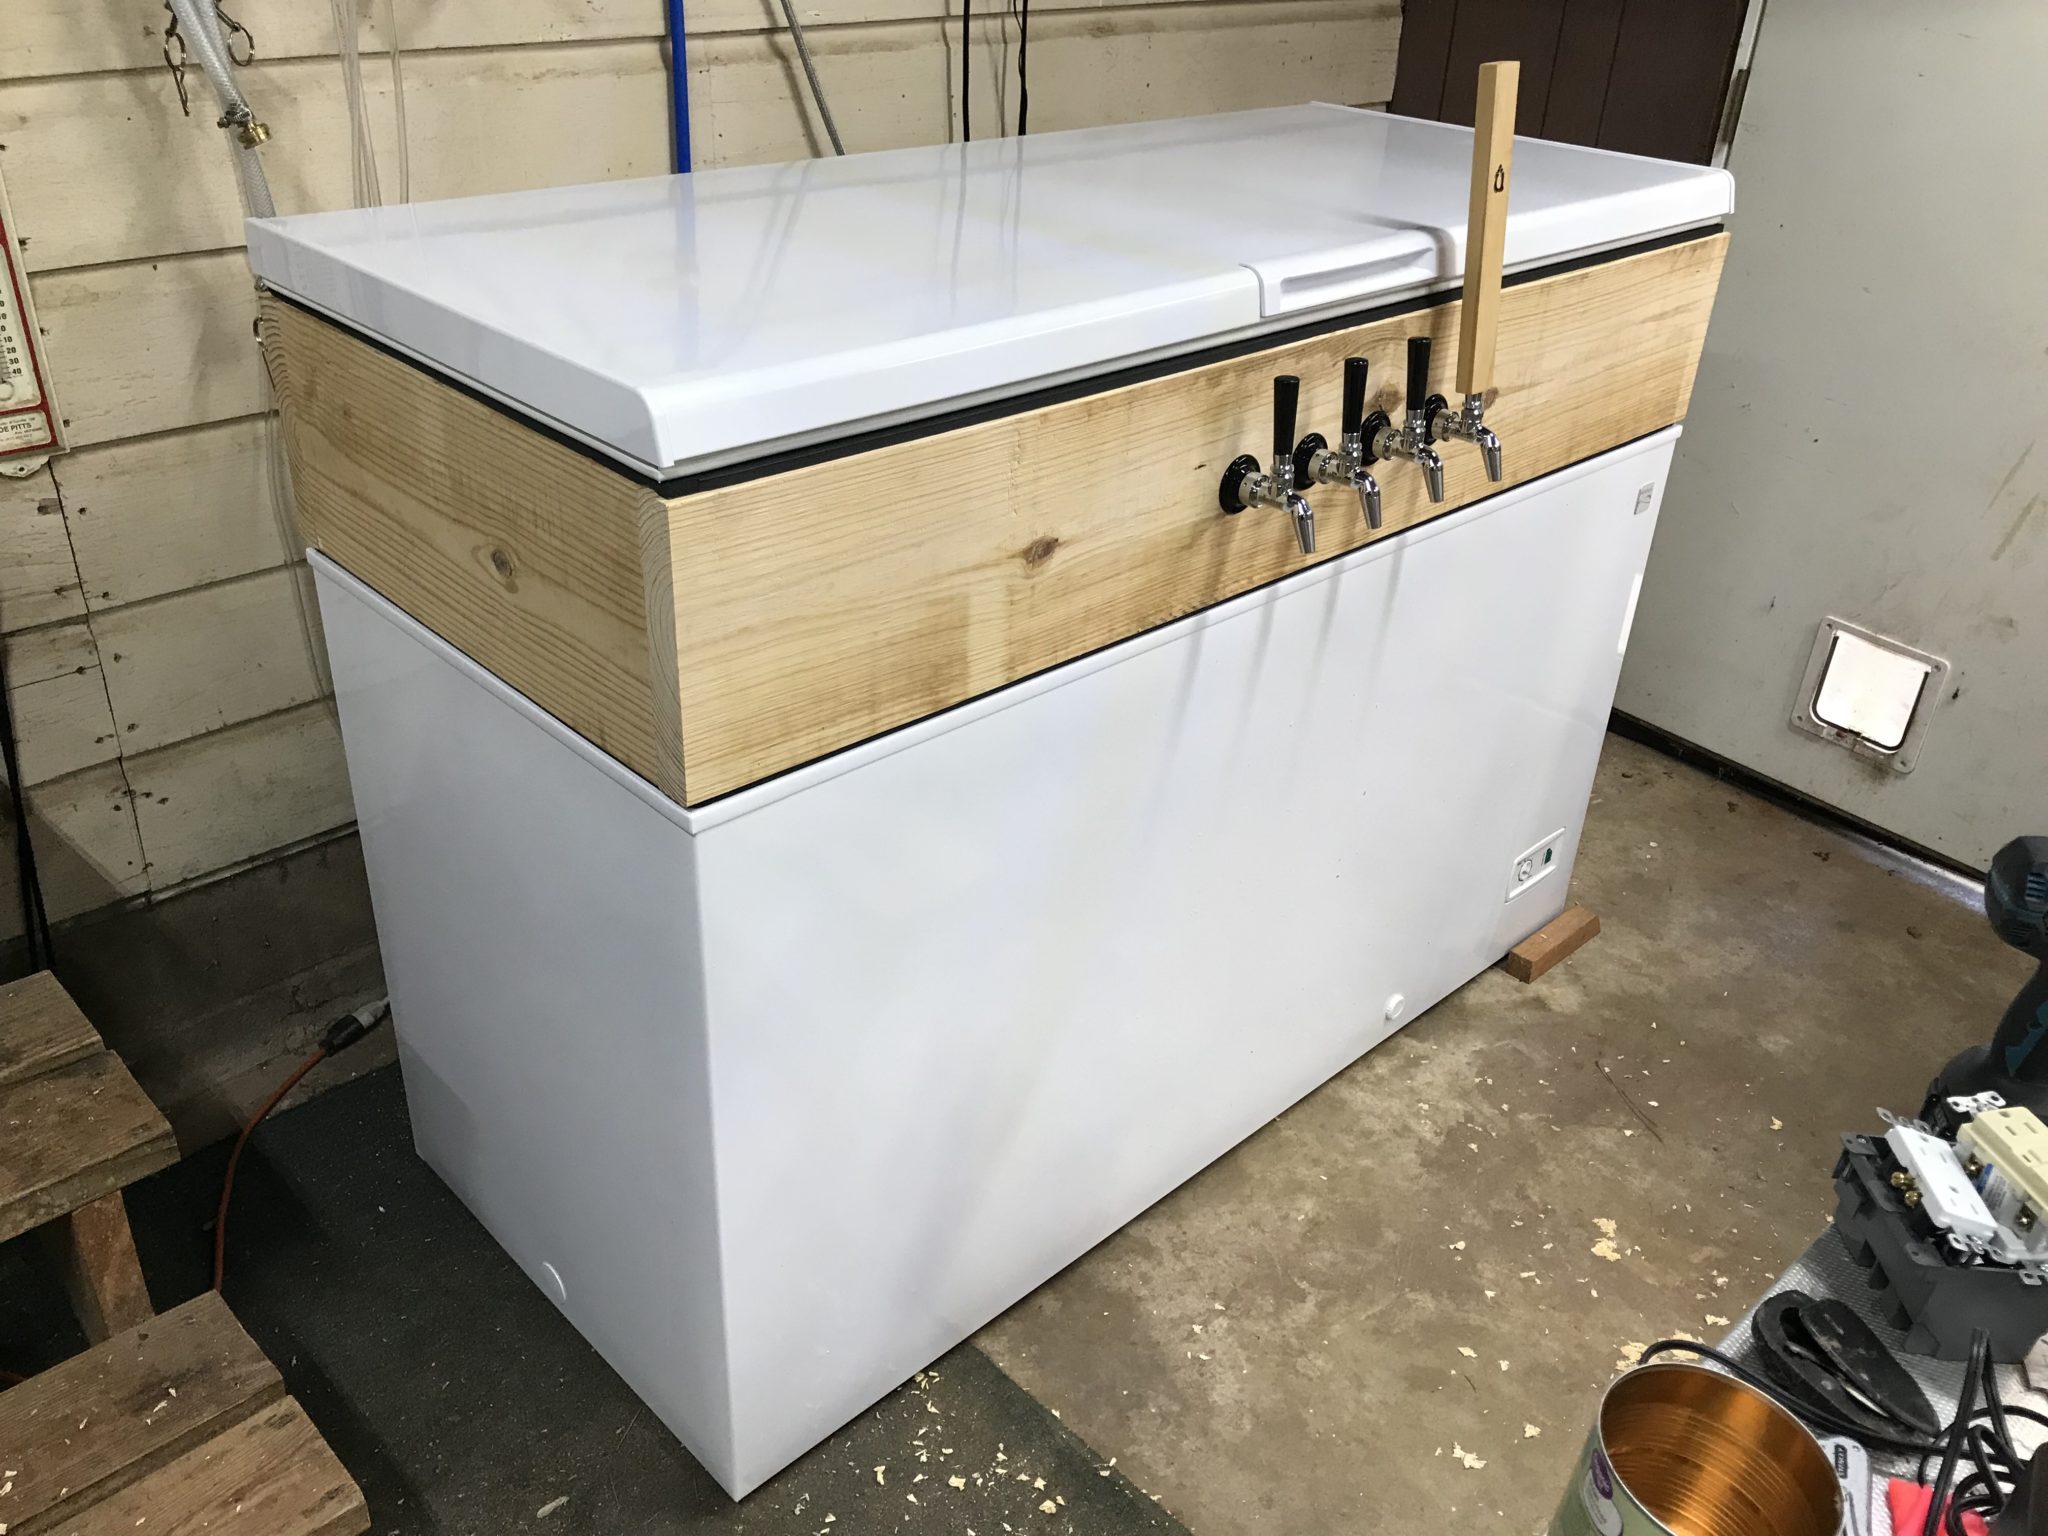
The tap were easy to install, just drill through the collar and tighten down. Due to the length of shanks, I actually ended up drilling a larger hole in the insulation, and tightening the taps against the wood itself.
With all these changes, the keezer is now fully functional, but it’s not complete! I still plan to cover the 2×10 boards with trim, probably paint the freezer, expand the number of taps, and add a drip tray. Stay tuned for part 3!